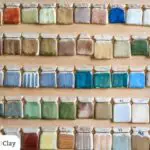
Discover the Magic of Ceramic and Glaze Test Tiles
Dive into the exciting world of pottery where you can’t miss out on the magic of glaze test tiles. These small pieces of ceramic become your ultimate playground, allowing you to experiment with a myriad of glaze combinations before embarking on your final piece. Remember, a well-informed choice can be the difference between crafting a masterpiece and facing disappointment!
The Essentials of Crafting Test Tiles
First and foremost, mastering the art of centering the clay on the wheel is crucial. It’s the foundation upon which your test tiles will be built.
Next, equip yourself with a rolling pin, your companions in crafting flawless test tiles. Here’s a golden tip: picking the right kind of clay is a game-changer. Ditch the idea of using recycled clay – it’s a bit of a wild card and might not give you the results you’re hoping for.
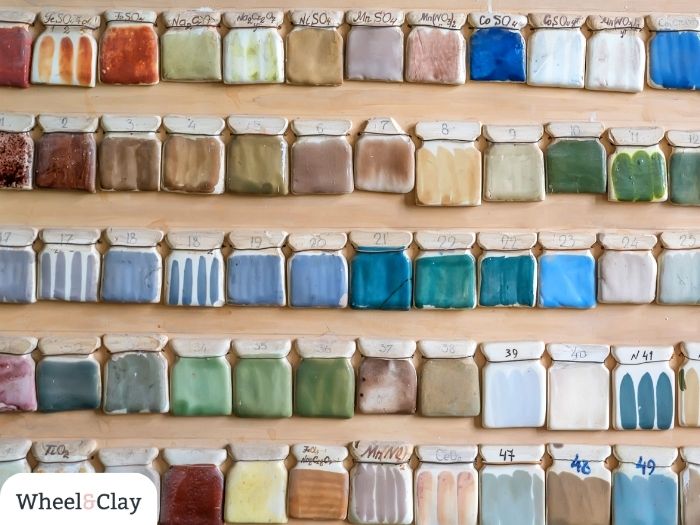
The Wonderful World of Test Tiles
Imagine having a blank canvas where you can let your creativity run wild, experimenting with colors, textures, and techniques to your heart’s content. Crafted from the same clay body as your final piece, these test tiles allow you to explore different glazes without any reservations, paving the way to find that perfect glaze for your artwork.
Whether you are working in a studio setting or your cozy home, integrating test tiles into your pottery routine can be a game-changer. These tiles serve as a sneak peek into various glaze combinations available and how they react with different clays, offering invaluable insights without slowing down your creative process.
Embarking on the Test Tile Creation Journey
Begin with a substantial amount of clay, ideally around two to three pounds, to give yourself a generous canvas to work on.
As you center your clay, envision crafting a large, round donut, a playful yet essential shape that forms the basis of your test tiles.
Preparation and Crafting of Test Tiles
Ensure your clay is bone-dry to prevent any glazing mishaps during firing. Subsequently, bisque fire your pieces to ready them for the glazing adventures that await!
1. Consistent Small Batches
One approach is to consistently create small batches of test tiles. Incorporate a few test tiles in each kiln firing cycle to gradually accumulate data about the available glazes.
This method allows you to explore various glaze combinations without losing anything in the process, as you still can glaze your finished pieces with untested glazes if you’re feeling adventurous.
2. Large Scale Testing
Alternatively, you might opt for a large-scale test where you create around a hundred test tiles and try all the glaze combinations your heart desires. This approach is especially beneficial when you want to undertake a thorough exploration of potential glaze effects and combinations.
Creating Different Types of Test Tiles
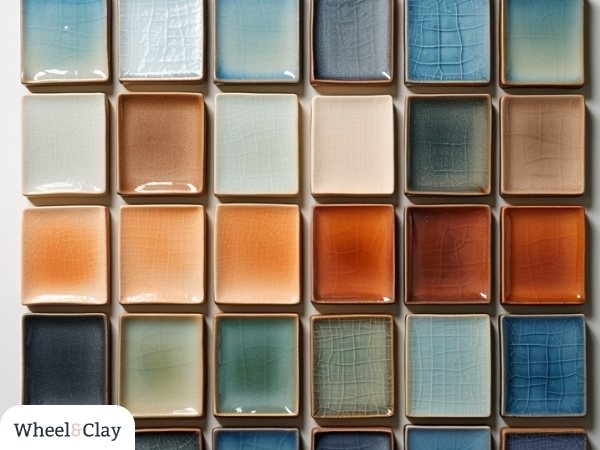
1. Flat Test Tile
The flat test tile, typically measuring about one and a half inch square, is a great starting point, particularly when brushing glazes or experimenting with underglaze decals and layering glazes.
These tiles are quite safe as they lay horizontally in the kiln, minimizing the risk of glaze running and dripping. They also enable you to test numerous combinations without wasting too much material.
2. Vertical Test Tile
The vertical test tile is ideal for observing glaze effects on vertical surfaces, resembling wall hangings or dishes. This type of tile is hand-built easily using a slab, folded over in the middle and flared out at the bottom, creating a structure that stands upright in the kiln.
They are excellent for dipping and can incorporate textures to provide more information on how glazes interact with various textures.
3. Throwing Test Tiles
For individuals adept at throwing, creating small thrown cylinders can be a beneficial approach to test glazes. These tiles are particularly useful when you want to observe how a glaze looks on surfaces similar to your final product.
This method provides a better picture of how glazes interact with thrown pieces, which have a different surface structure compared to flat tiles.
Conclusion
Embarking on the journey of mastering the art of glazes can seem daunting, especially if you are not well-versed in the intricacies of glazes.
Yet, adopting a systematic approach to testing can be a lifesaver. Whether you are a seasoned potter or a novice, embracing the magic of test tiles can elevate your glaze game, opening doors to a world of endless creativity and innovation.
Remember, the world of pottery is your oyster when you have the right tools and knowledge at your disposal. Happy crafting!
Joanna Miller
Clay Maven
I’m an artist and educator who’s head over heels in love with pottery and ceramics. Seriously, I’ve got clay running through my veins! From the moment I first touched that squishy, magical substance as a kid, I knew I had found my calling. Now I help others, from hobbyists to professionals, become their best self.