What is a Kiln Sitter?
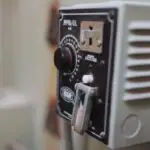
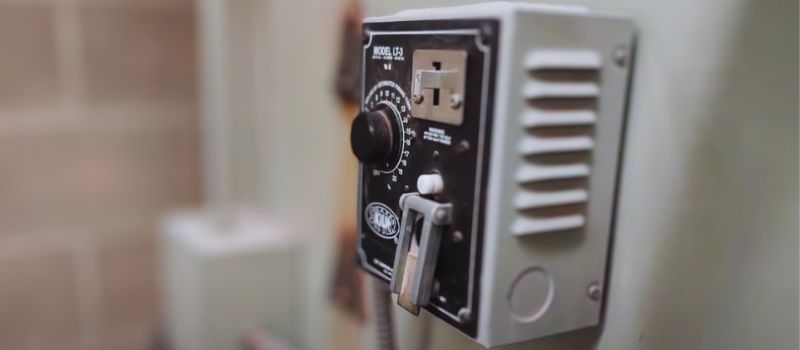
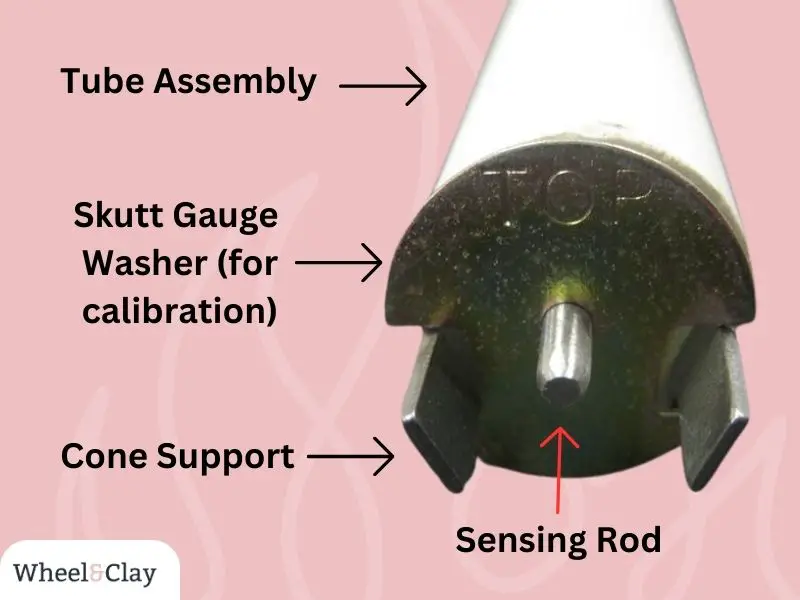
A kiln sitter (officially KilnSitter®) is a control box that serves as an automatic shutdown mechanism. It operates using pyrometric cones that support a metal rod connected to a claw on the outside of the kiln. When the kiln reaches a certain temperature, the cone bends, causing the sensing rod resting on top of it to fall as well, triggering the release of the claw on the outside trigger plate. This cuts the power and stops the firing process. It’s most common on electric or manual kilns.
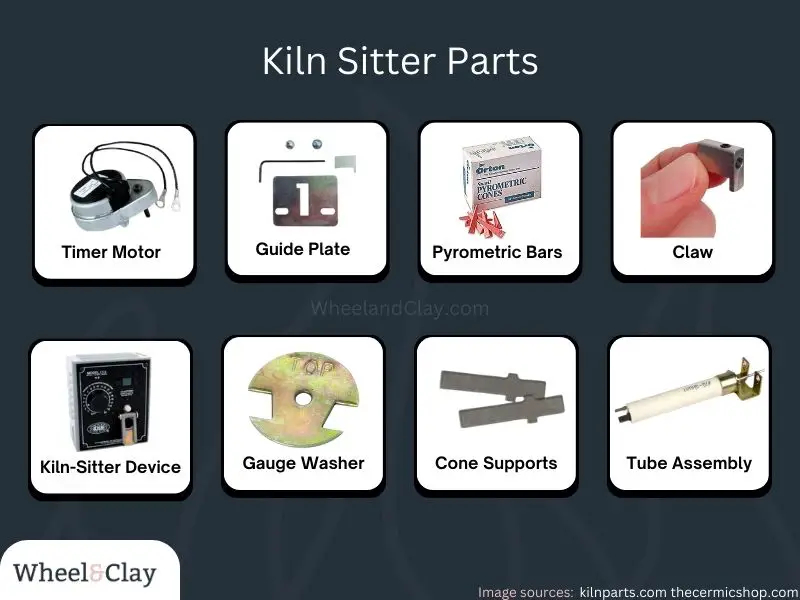
A kiln sitter consists of several components, including a trigger plate, actuating rod, cone, and weighted latching mechanism. The control is not meant to be a fail-safe, so don’t disappear for the weekend.
If you have a modern or electric kilns, like a Skutt KM1027-3, you may not need a sitter at all. Digital controllers make it obsolete.
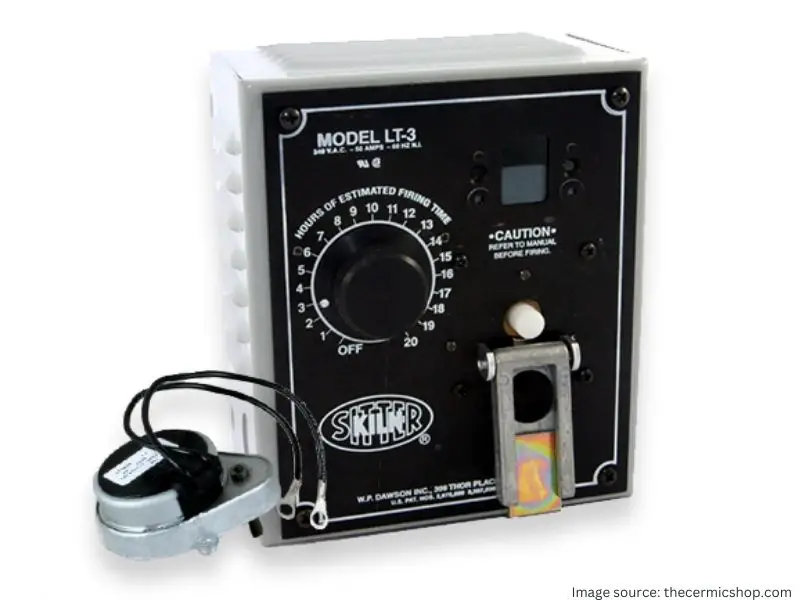
The price of a kiln sitter can start around $280 for a Dawson LT-3K 6″.
Advantages of Using a Kiln Sitter
One obvious advantage of using a kiln sitter is that it can help preventing over firing. No one wants to spend hours, days or months on a piece, only to have it damaged in the final phases.
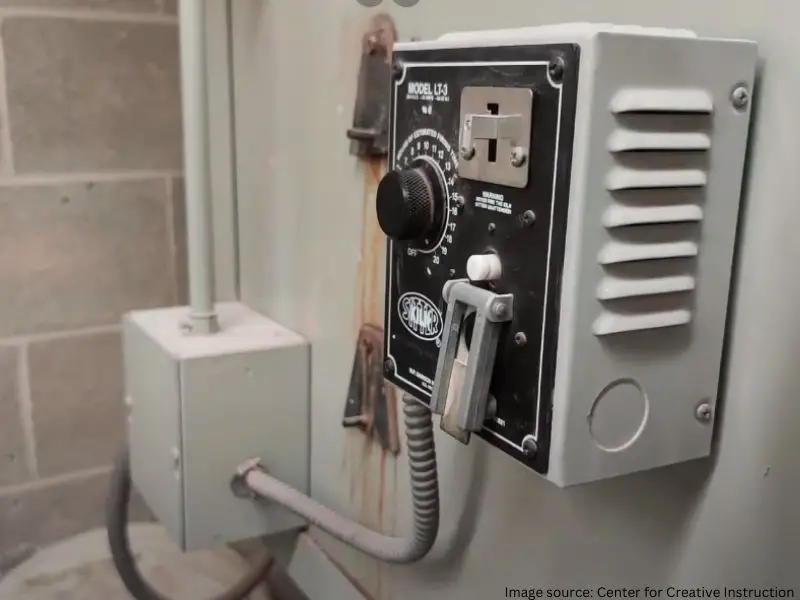
I also like to tell fellow potters that it’s a more affordable option to pair with a manual kiln, compared to investing in a digital one. The Dawson Models LT-3 & LT-3K are pretty popular.
The sitter mechanism is not meant to replace your presence or awareness.
Note: if you are using a complex crystalline glaze, you may be better served by a modern kiln, as there are specific holding requirements and firing schedules for growing crystals!
How to Use a Kiln Sitter
Using a kiln sitter involves a series of steps that ensure proper function and the successful completion of your ceramic projects.
Here’s a step-by-step guide:
- Preparation: Before you begin, ensure that your kiln sitter is properly calibrated. This involves checking that the trigger plate comes into contact with the claw with no gap in between. If there’s a gap or the trigger plate can’t move past the claw, you’ll need to adjust it. Also, ensure that the sensing rod is not worn out or oxidized, as this can affect the timing of when your kiln shuts off. If your sitter does need recalibrating, skip to the next section.
- Loading the Kiln: Once your sitter is calibrated, you can start loading your kiln.
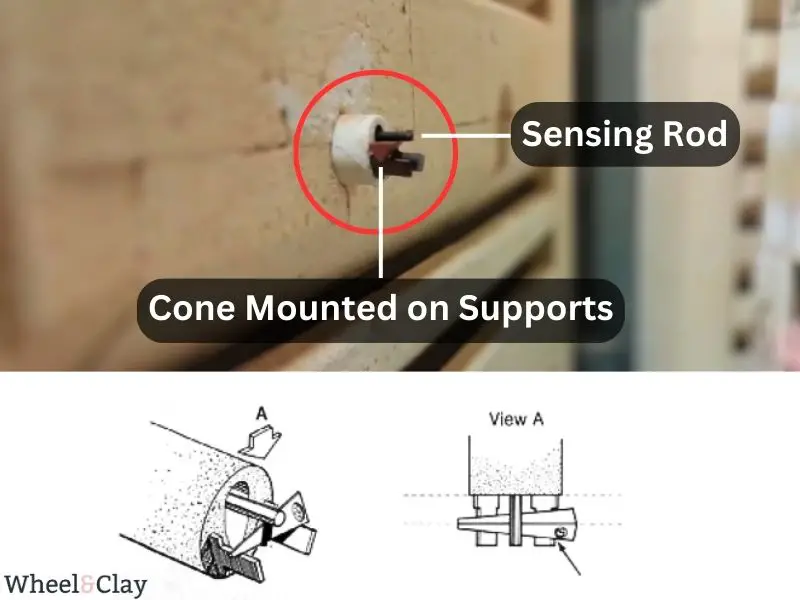
- Setting the Kiln Sitter: The next step is to set the sitter. This involves placing a small pyrometric sitter cone on the cone supports inside the kiln, with the sensing rod laying over the center. The cone number should correspond to the desired firing temperature. Make sure the sensing rod is placed over the center of the cone for accurate results. The longest edge of the cone should be facing up, and supporting the rod.
- Firing: With everything set, you can now turn on your kiln. As it begins to heat up, the cone inside the sitter will start to soften. The weight of the sensing rod will cause the soft cone to bend, which in turn will cause the claw on the outside of the kiln to rise.
- Monitoring the Firing: It’s important to monitor the firing process. When the claw rises up, it releases the latch weight, which falls down and initiates shutdown. This (ideally!) indicates that the target temperature has been reached. You should also use witness cones placed on the kiln shelf at the level of the sitter to verify accurate firing.
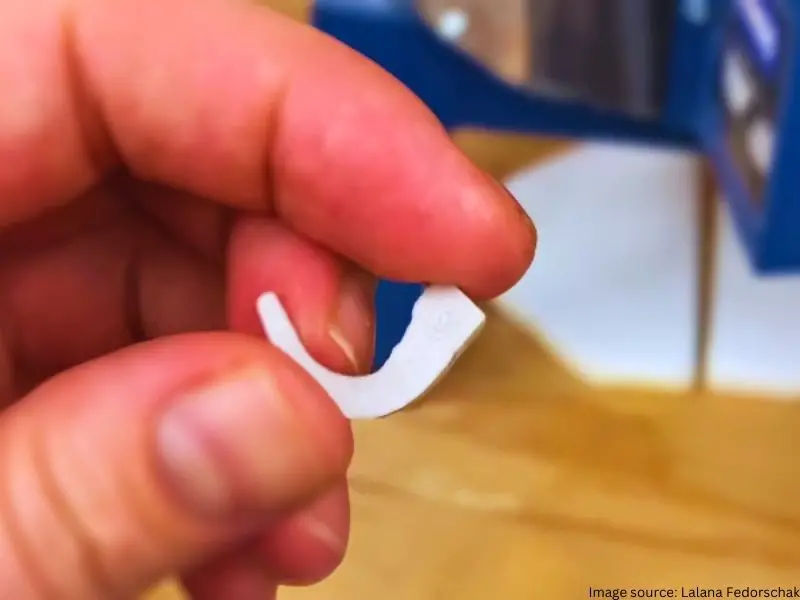
- Post-Firing: After the firing, check the sitter cone. If it is bent to a 90-degree angle, this indicates that the kiln shut off at the correct temperature. If the sitter cone is bent to more or less than a 90-degree angle, your sitter may need recalibrating. See the image below for a visual.
The kiln sitter is a useful tool, but it’s not infallible, and being there to manually shut off the kiln if necessary can prevent accidents. Sue McLeod – yes, I love her – likes to use a “baby monitor” app for late night firings so she can see when the kiln has shut off. Brilliant.
Remember, safety is paramount.
Troubleshooting & Calibration
In most cases, you will only ever need to replace parts that wear, such as the sensing rod. If your kiln is calling it a day too early or burning the midnight oil, your kiln sitter might be crying out for some attention. This may also be the case if you are not buying a brand new kiln.
You can check parts for wear and also purchase replacement parts online.
If you’re firing cone-7, your witness cone should be pointing downward when the kiln sitter shuts off. If this is not the case, or your kiln is shutting off too early or late, you must make adjustments to calibrate the unit.
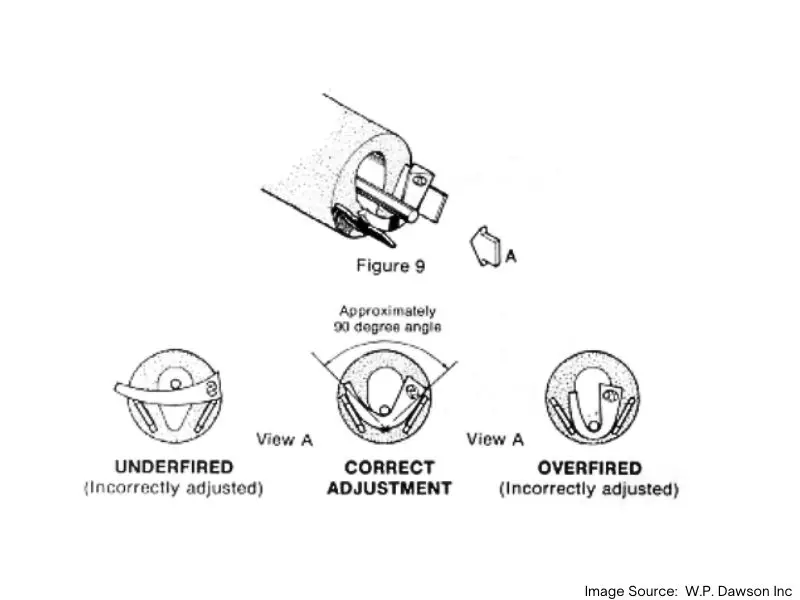
If your sitter cone is bent to more or less than a 90-degree angle, then you may need to calibrate as well. I also know potters that will calibrate after moving their kilns to a different area of the studio.
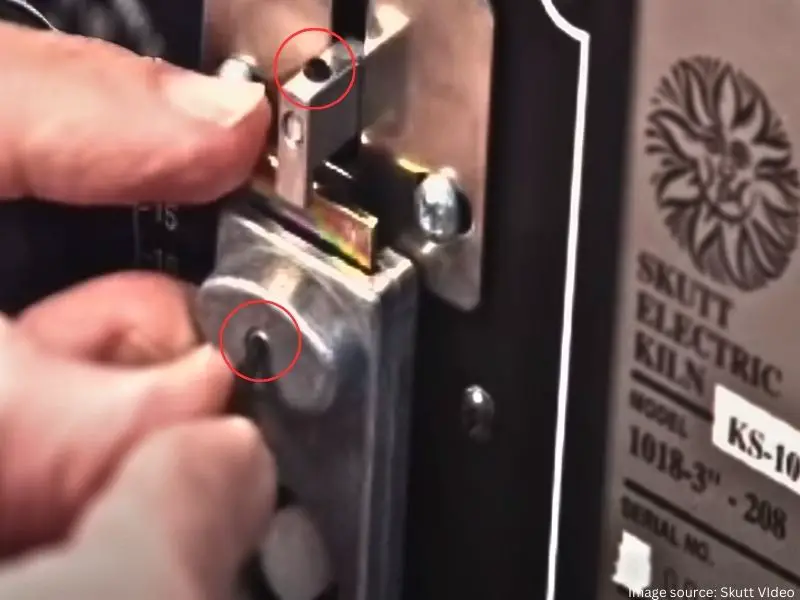
Calibrating your kiln sitter is simple, and requires only a few tools. You will adjust the trigger plate, but before you start: have a pencil handy to mark the baseline position!
- Put a firing gauge in place at the end of the tube assembly. This will hold the sensing rod in the correct position for calibration. If you’ve discarded yours or don’t have one, replacements can be purchased for around $9. This gauge must be removed before firing, please do not forget it!
- Check to see if the claw is catching the trigger plate – if not, continue
- Adjust the screws on the trigger plate to adjust so the claw is just catching the plate
- The sensing arm inside the kiln should be able to drop enough so it can shut off the kiln, if this arm has to move too far, you will need to recalibrate. The arm is not supposed to bend the cone beyond 90 degrees!
- You may also need to adjust the guide plate if the claw arm is not moving easily up and down.
Setting Up and Safety Procedures
Proper placement and adherence to safety procedures are essential when using a kiln sitter. It is important to position the device in a visible and accessible location, wear appropriate safety gear, and be present during the firing process. Regular maintenance of the device and its components is necessary to ensure safe and efficient operation.
You shouldn’t rely solely on the kiln sitter. As a backup, you should also have a timer, set according to the expected firing duration. Some kilns will max at 20 hours firing time, so assuming your sitter fails, the kiln will not be on for longer than that period. Truth be told, you should definitely be checking in before then! This is especially the case if you have made a recent calibrations.
Joanna Miller
Clay Maven
I’m an artist and educator who’s head over heels in love with pottery and ceramics. Seriously, I’ve got clay running through my veins! From the moment I first touched that squishy, magical substance as a kid, I knew I had found my calling. Now I help others, from hobbyists to professionals, become their best self.