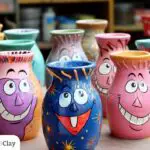
The Art of Pottery Without a Kiln
Pottery is more than just an art; it’s a dance of earth and fire, where clay transforms into timeless masterpieces. Traditionally, kilns have been the fiery stages where this magic happens, turning soft clay into stunning and sturdy creations.
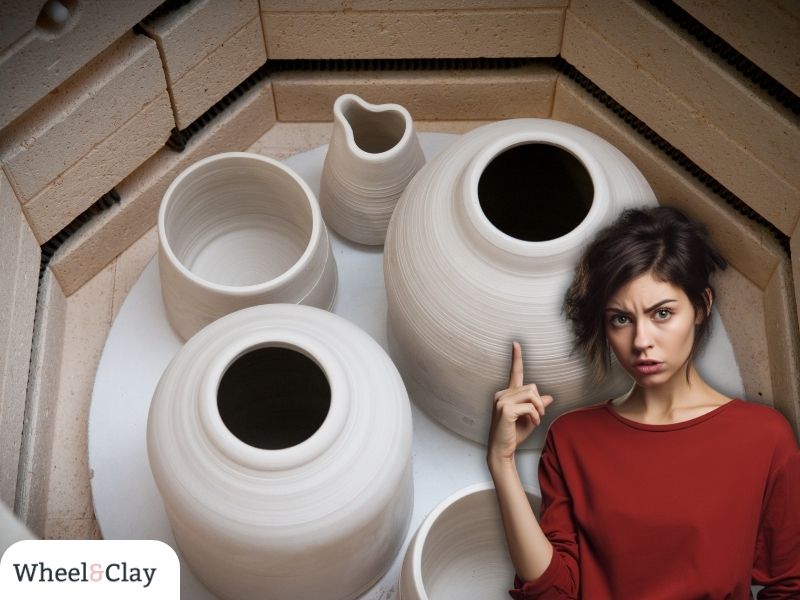
But what if you don’t have a kiln?
Fear not!
Many creative souls have ventured beyond the traditional, discovering a treasure trove of alternative firing techniques. Whether it’s out of necessity, a spark of curiosity, or the chase for a unique finish, these methods open up a world of artistic possibilities.
So, let’s dive into this exciting world and uncover ten ways to fire up your pottery passion without a kiln!
The Dance of Clay Types and Firing Techniques
The type of clay you choose plays a pivotal role in the pottery process, especially when you’re stepping away from traditional kiln firing. Different clays have unique properties, and understanding them can help you select the best alternative firing method:
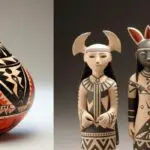
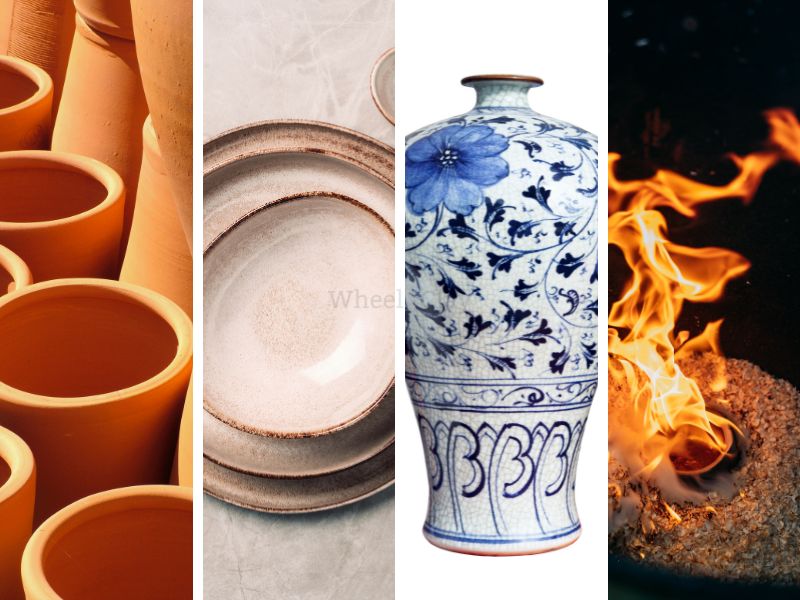
- Earthenware: This is one of the oldest types of clay, often red or terracotta in color. It’s porous and fires at lower temperatures, making it a favorite for alternative methods like pit firing. However, it’s less durable than other types, so it’s more suited for decorative pieces.
- Stoneware: A high-fire clay, stoneware is dense and non-porous once fired. It’s ideal for functional pieces like dinnerware. While it typically requires higher temperatures, some alternative methods can still be used, though with varied results.
- Porcelain: This is the diva of the clay world – fine-grained, smooth, and often translucent when fired. It demands very high temperatures, making it a challenge to fire without a traditional kiln. However, for those willing to experiment, the results can be breathtaking.
- Raku Clay: Specifically formulated for the raku firing process, this clay type can withstand rapid temperature changes, which is characteristic of the raku technique.
When considering an alternative firing method, it’s essential to match the method with the clay type. For instance, earthenware’s lower firing temperature makes it a natural fit for pit firing, while stoneware might be better suited for methods that can achieve higher temperatures, like barrel or raku firing.
Alternative Firing Techniques:
- Earthenware Clay:
- One of the most ancient pottery clays, earthenware is especially compatible with alternative methods like pit firing. Its firing temperature is generally lower than that of stoneware or porcelain, making it apt for techniques that don’t achieve traditional kiln temperatures.
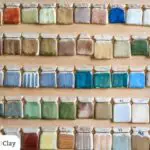
- Glazing Pottery:
- When opting for unconventional firing, it’s pivotal to select glazes that align with the chosen method. Some glazes necessitate specific maturation temperatures. Techniques like raku, for instance, employ specialized glazes for unique outcomes.
- Firing Temperatures:
- Different clays and glazes mature at distinct temperatures. For example, earthenware usually matures between 1745°F to 2012°F (950°C to 1100°C). It’s essential to gauge the temperatures achieved in alternative methods to ensure proper maturation.
- Kitchen Oven:
- Although not as potent as a kiln, a kitchen oven can be employed for low-fire projects or bisque firing earthenware. Given that most ovens peak at around 500°F (260°C), their utility is somewhat limited but can serve as a starting point for novices.
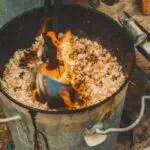
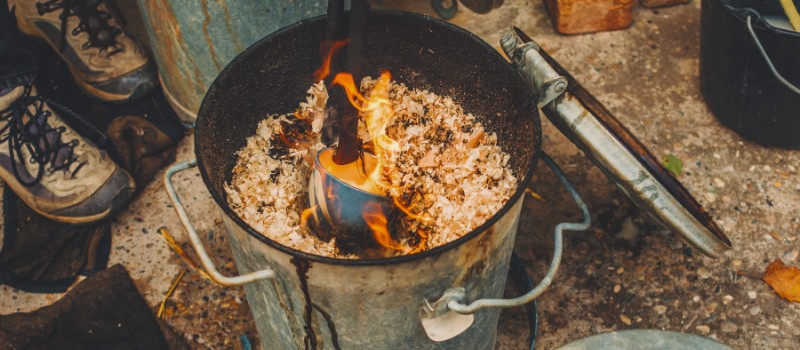
- Pit Firing:
- An age-old technique, pit firing involves placing pottery in a pit filled with combustibles. The results, while unpredictable, can be mesmerizing, with the outcome influenced by the materials used.
- Types of Pottery and Clay:
- Stoneware: Durable and ideal for functional items, it generally requires temperatures beyond what alternative methods can offer.
- Porcelain: A high-fire clay, its fine texture demands high temperatures, making it challenging to fire without a kiln.
- Earthenware: As previously discussed, it’s a low-fire clay suitable for unconventional methods.
- Safety Precautions:
- Ventilation: Ensure adequate airflow to prevent inhaling harmful fumes.
- Protective Gear: Equip yourself with safety glasses, heat-resistant gloves, and protective clothing.
- Fire Safety: Always have a fire extinguisher at the ready and ensure the vicinity is devoid of flammable materials.
- Handling: Allow pottery to cool thoroughly before handling.
Diverse Firing Methods
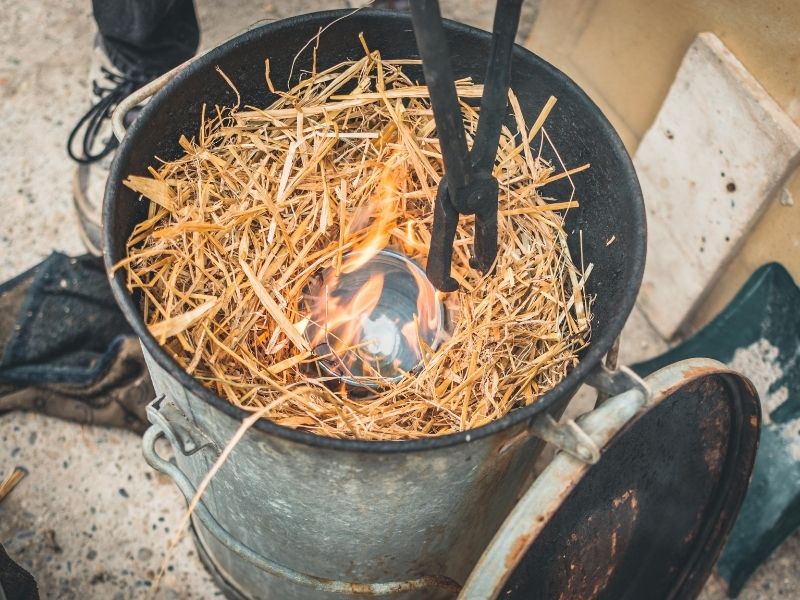
- Raku Firing:
- Preparation: Have a metal container filled with combustibles like sawdust or newspaper ready.
- Glazing: Use a special raku glaze on your pottery.
- Firing: Heat the pottery using a propane torch or small bonfire until the glaze melts.
- Reduction: Transfer the pottery to the container with combustibles and seal it. This creates a reduction atmosphere, altering the glaze’s appearance.
- Cooling: After a few minutes, remove the pottery and quench it in water.
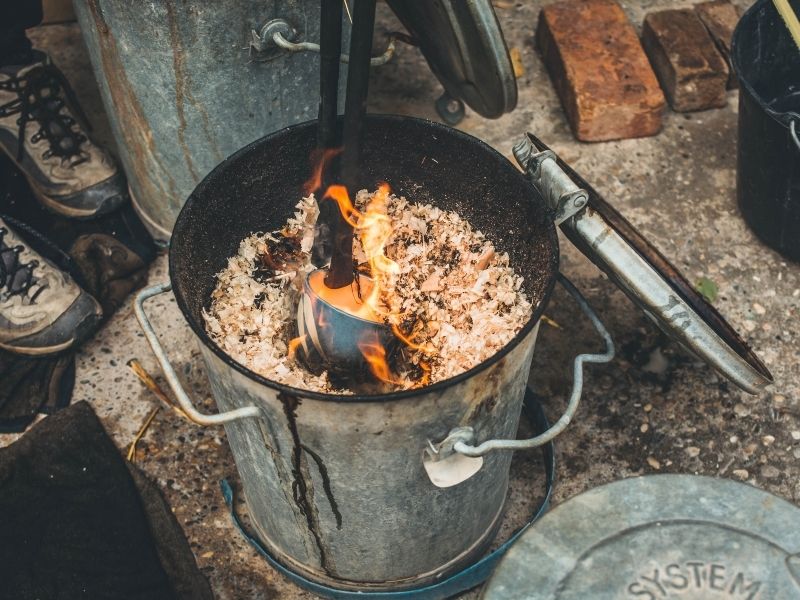
- Sawdust Firing:
- Preparation: Use a metal container half-filled with sawdust.
- Placement: Embed your pottery pieces into the sawdust.
- Firing: Ignite the sawdust, allowing the pottery to be fired by the smoldering sawdust.
- Cooling: Wait for several hours before removing the pottery from the container.
- Barrel Firing:
- Preparation: Use a metal barrel, layering the bottom with combustibles.
- Placement: Position your pottery inside, ensuring pieces don’t touch.
- Firing: Seal the barrel and ignite it, monitoring the temperature. (Yes, this part might be tough!)
- Cooling: Once the fire is out, let the barrel cool before retrieving your pottery.
- Gas Stove Firing:
- Preparation: Ensure your pottery piece is small and thin.
- Firing: Place the pottery on the gas stove burner, gradually increasing the heat and rotating for even firing.
- Monitoring: Observe color changes and remove from heat once a deep red or brown hue is achieved.
- Charcoal Grill Firing:
- Preparation: Fill a grill with charcoal.
- Placement: Set pottery on a heat-resistant tray above the charcoal.
- Firing: Ignite the charcoal, using the grill’s lid to control airflow and temperature.
- Cooling: After the charcoal is consumed, let the pottery cool inside the grill.
- Campfire Firing:
- Preparation: Create a campfire and let it burn down to coals.
- Placement: Position pottery near the coals, avoiding direct contact.
- Firing: Add more wood to surround the pottery with flames, monitoring and rotating for even firing.
- Cooling: Allow pottery to cool overnight beside the dying fire.
- Outdoor Wood-Fired Oven:
- Preparation: If you have a wood-fired oven, ensure it’s clean.
- Firing: Place pottery inside and ignite the oven using hardwood.
- Monitoring: Keep an eye on temperature and adjust wood input as needed.
- Cooling: Turn off the oven and let pottery cool inside.
Remember, each method will produce unique results, influenced by factors like clay type, pottery thickness, and firing conditions. You can also look into whether local studios or co-ops can fire your pieces for you. They usually charge, so keep that in mind.
Always prioritize safety, especially when working with open flames.
Joanna Miller
Clay Maven
I’m an artist and educator who’s head over heels in love with pottery and ceramics. Seriously, I’ve got clay running through my veins! From the moment I first touched that squishy, magical substance as a kid, I knew I had found my calling. Now I help others, from hobbyists to professionals, become their best self.