Coiling pottery is one of the most common ways to make a pot before the pottery wheel was invented. I wanted to find out the backstory of the technique and then share with you how to make a coil pot yourself. Let’s get into it.
What is coil pottery?
Coil pottery is a method of handbuilding pottery where a potter forms a base, walls, and style by combining clay coils (or cylinders). The potter rolls the clay into coils, stacks the coils together, and joins the coils through pressure creating a vessel.
Coil pots are one of 3 ways to make a functional form of pottery called handbuilding. The three types are coil pots, pinch pots, and slab pots.
Coiling pottery was a significant improvement in ceramics for early humans. Coil pots are far more sturdy in large form than a pinch pot or slab-built pot at the same scale. Before throwing wheels, the coil method was the best way to make a large, stable vessel.
Let’s travel back in time to those first moments of coil pottery.
How old are coil pots? (a brief history)
Some estimates put the first-ever created coiled pots in the Jōmon period between 8,000 and 12,000 years ago.
Coil clay pots are common all across the world from many cultures. But more ancient coil pots are in Africa, Greece, North America, and Asia than in other regions.
The coil pottery method was a significant improvement in ceramics for early humans. Coil pots are far more sturdy in large form than a pinch pot or slab-built pot at the same scale. The coil method was the best way to make a large, stable vessel before the existence of throwing wheels.
Cool coil pot examples
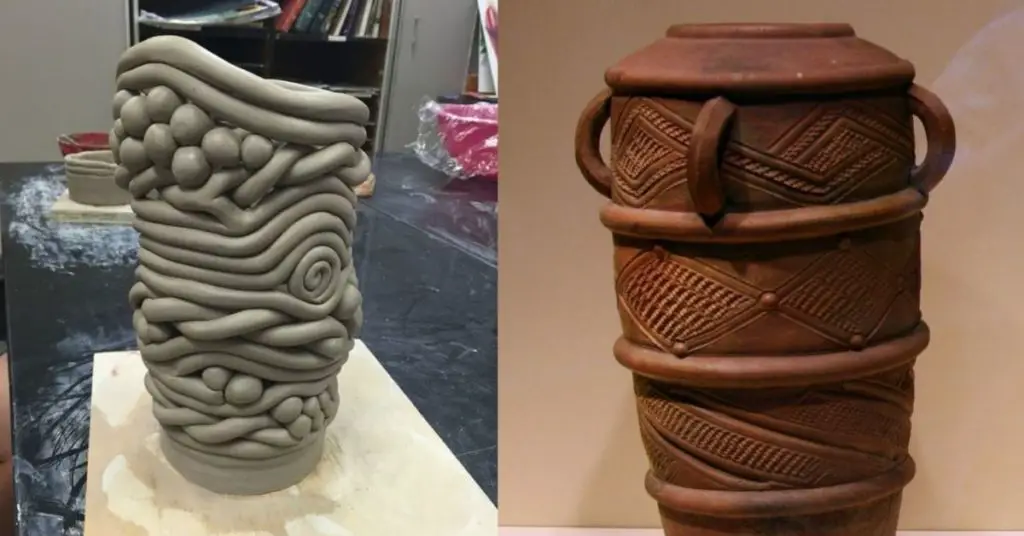
A few large jars examples – Source of pot on left – Source of pot on right
How to make coiled pots
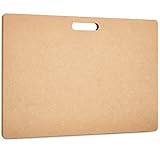
What you need to get started
- clay
- spray bottle
- clay knife
- modeling tool
- scoring tool
- large canvas board (optional)
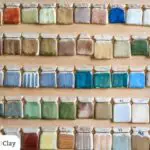
Picking out your clay
You can use any of the four clay types to do coiling pottery. The best type of clay for beginners is either stoneware or earthenware clay. Both clay bodies are malleable and hold up well in firing.
- Multi functions: this clay wedging board can be applied for making clay crafts, outdoor painting, portable office tables, DIY workbench, suitable for home studio, classroom, office or home, practical and convenient to use
- Portable design: the wood clay board with a built in handle design, which you can directly hold in your hands, and convenient to carry and when not in use, can be hung on where there is a hook or nail, space saving
Picking the right clay can be confusing. Check out our article “How to choose pottery clay for your next project” at the link.
Making coils
Preparing the surface
I like to use a large canvas board to do this work. The board prevents the clay from sticking to the surface or anything (debris, crumbs, etc) sticking to the clay slab.
Next, I’ll spray water on the surface and towel off the water. You want moisture on the board, but not too much that it affects the clay’s consistency. Preparation like this is what gives you the best results!
Rolling coils

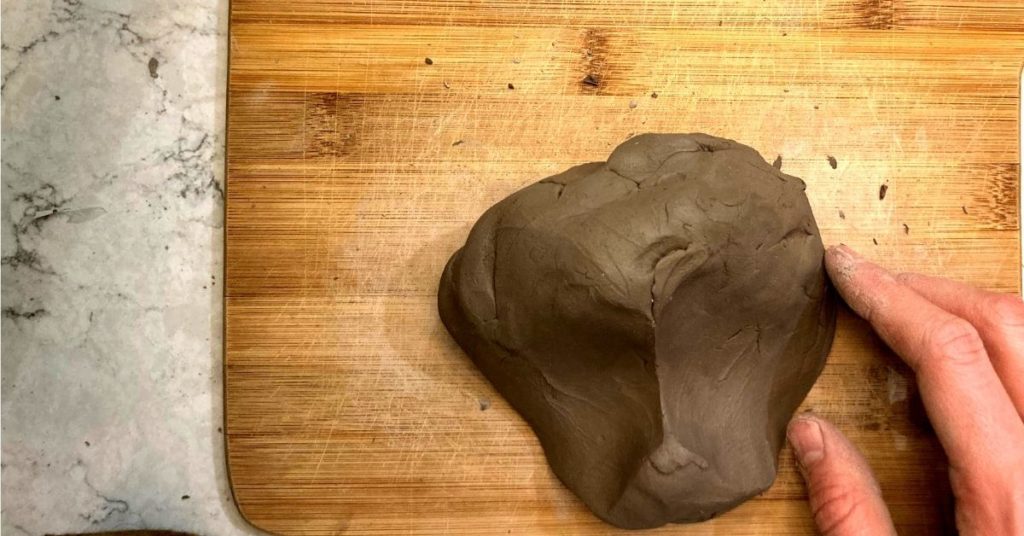
Most often, you’ll start with a slab of clay. You can cut the soft clay into pieces until it’s in a size where you can form a clay ball. Next, roll the clay into a ball between your hands into a cylinder shape.
There are a few different ways to tackle the next steps of your coiling project. Here’s my preference:
Put the cylinder of clay on the surface you prepared. Starting with the tips of your index finger, roll the clay across the entire table away from you and then towards you. You’ll want the clay to pass under your fingers to your palm. And then the other way – from your palm to your fingers.
As you roll it, you want to keep your fingers wide. Add pressure towards the outside of the coil to stretch out the material.
Once the clay gets long enough, add your second hand using the same technique with two hands. Roll the piece of clay until it’s in the desired shape.
The next step is to cut the coils of clay into the length that you want. Boom – you have your first coil.
Repeat the process of making a lump of clay into the coil shape until you have all the coils you need for the project.
I suggest making the coils all in one go. It will save you a lot of time down the line. Trust me. 🙂
What size should my coil be?
I like to roll coils to about the diameter size of a penny up to the size of a nickel. If I don’t have coins handy, I use my pinky finger’s nail as a reference for the right diameter. The length of your coils depends greatly on the piece you’re making. Just know that a long coil will be more challenging to make and work with than small items.
What if one side gets flat while I’m rolling it out?
If it gets flat on one side, you’ll start hearing a thump as you roll the clay. If this happens, twist the clay to make a spiral. Then, using the technique from above, roll the clay with fingers to palm. This will cause the clay to combine again, removing the flat edge.
Making a base
Next, we’ll make a base or bottom of the pot with one of the clay coils.
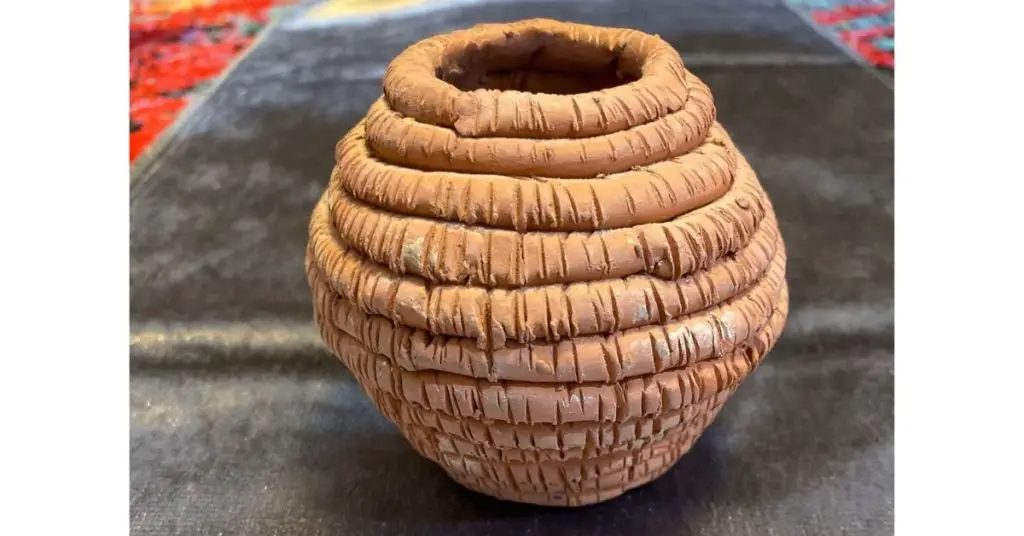
Start by cutting one of the ends of the coil on a diagonal. Take the side you just cut and spiral the clay, or fold the clay, tightly into itself. The coil will start to create a circular surface with a ridged pattern.
Once spiraled into what now looks like a pot base, cut the end of the coil at a diagonal.
Next, you’ll blend the cut edge into the rest of the base. I like to use a modeling tool. I take the modeling tool and smooth the edges of the clay around the exposed ends until the surface is uniform.
I also suggest blending the spiraled base together on at least one side (top or bottom). It makes for a more reliable pot without leaks or holes after firing.
Blending will smooth out the clay, removing the spiral texture on one of the sides of your base.
If you don’t have a modeling tool, that’s alright. You can blend with your fingers.
Building the walls
With your base created, it’s time to start building the walls of your vessel.
Cutting the coil
Take one of your coils and measure it around the edge of the base. Cut the coil diagonally with your cutting tool. Your goal is for the clay coil to cover the edge of the base meeting at each end.
Slip and score to join the base and the coil
To join the base and the coil, we’ll do a process called slip and score.
- Slip is basically water and clay mixed together. It makes a ceramic-native glue.
- Scoring is scratching marks on the surface of the clay. A tool like this link helps a lot with scoring. But you can also use a simple needle tool.
First, score the edge of the base of the pot. Then, score the bottom side of the coil you just cut.
Grab your slip and brush it on the base where it has been scored and the coil where it has been scored.
Place the coil onto the base so that the slip and scored sides touch. Lightly add pressure to join the slip and scored edges.
I then will blend one side (inside or outside) to create a seal. I personally like to blend the inside of the pot, so that the coil design is on display.
Adding coils to add height to the walls
Grab your next coil. measure it around the top of the coil that is joined to the base of the pot.
Find the point where the coils meet. Cut each side of the coil diagonally so that they will fit perfectly together when joined.
Take the coil off the pot and join those two ends with slip while the coils are off the pot.
- Score the two edges that you just cut diagonally
- Add slip to the scored edges
- Push the two ends together and add light pressure
- blend the joint with a modeling tool
It’s a lot easier to have these joined off the pot instead of joining the coil while it’s attached pot.
Once joined, return to your pot. Score the top side of the coil that’s attached to the base. Score the bottom side of the coil you just joined. Slip the scored sides and join the new coil to the vessel.
Make sure that the joint will be in a different location than your last coil’s joint. If all the joints line up, you’ll have a weaker spot in the piece.
Blend one of the sides (inside or outside) with a modeling tool. Again, I like to blend the inside.
Repeat this again and again until your coil pot is in it’s final form.
3 easy coil pot ideas
You now know how to make a coiled pot, but what should you make? Below are three ideas and examples I love from Etsy.
Coiled pottery vase
A vase is a pretty straightforward project for the coil method. Check out this example from ArtsySmorgasbord on Etsy.
Clay coiling pottery planter
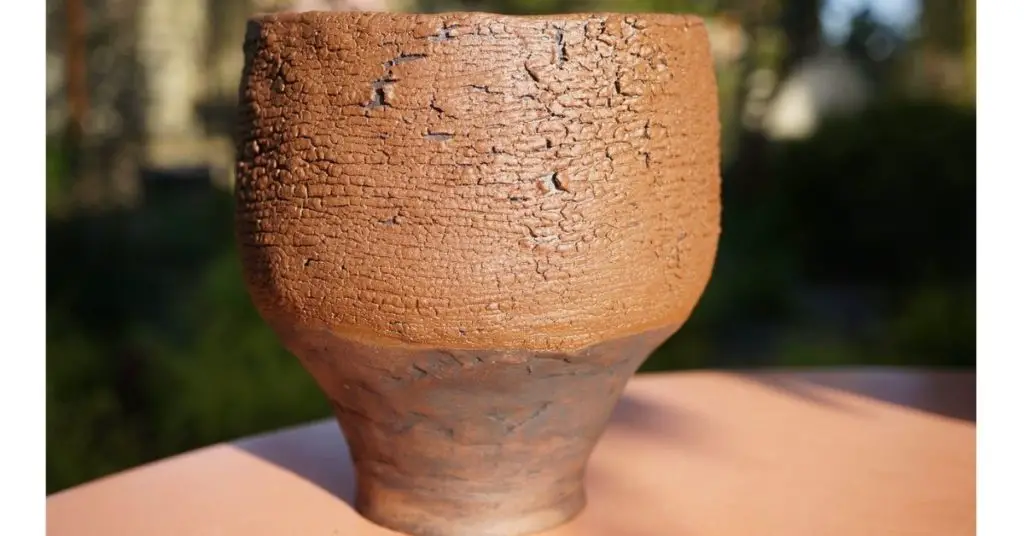
I like the planter for a beginner project. Imperfection can be cool accents for an outdoor ceramic piece.
Check out this example from LittlePlantPots on Etsy.
Coil made jewelry box
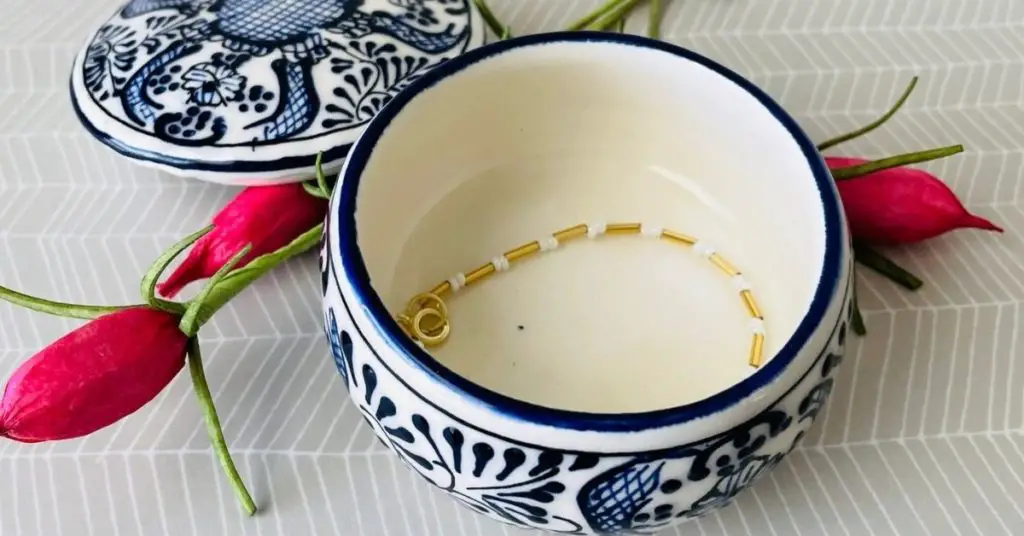
I like a jewelry box if you want a smaller project to take on. There’s less material, so it should be easier to manage (as long as you don’t get too fancy ;)).
Here’s a fun example on Etsy from Gina’s Plaza.
I’ve made a lot of lesson plans for various grade levels and coil pots are a great way to introduce ceramics to your students. Any of these ceramic work from Etsy would work for the classroom, too! Just a note on teaching it to younger kids: Stick to a smaller pot as your target for the students. There’s a lot less room for the pot to fall apart later in the process. 🙂
Looking for more ideas? Check out our article 21 pottery ideas for beginners.
Conclusion
If you’ve made a coiled pot, we would love to see it! Send us a photo through email – hello@wheelandclay.com. We’ll hang it on our virtual fridge 🙂
Last update on 2026-07-09 / Affiliate links / Images from Amazon Product Advertising API