So you want to teach your students the slab pottery technique? You’ve come to the right place!
I’ve been teaching art for a decade now (whoa…). In this blog, I’ll share some of my biggest insights. We’ll cover:
- What slab building pottery is
- An overview of the lesson
- The 7 days of building the project
- And 3 fun ideas to try with your class
What is the slab pottery technique?
Slab building pottery is a type of handbuilding where walled pieces are formed together through slip and score.
Handbuilding is a technique of ceramics where one forms clay with hands and simple tools instead of the pottery wheel.
Slab pots are typically more angular pieces with geometric forms than other traditional ceramic projects. The technique calls for you to create “walls” of a container. Then, slip and score the clay with a needle tool where the walls will come together. Finally, you form together the walls creating the piece.
Slab pottery lesson plan
Lesson plan overview
The following ceramics lesson plan is ideal for high school (ages 14 – 18) but can be modified for middle school-aged kids (ages 11 – 13).
The 7 days of lessons are scaffolded meaning each day builds upon the last lesson. By the end of all 7 days, the kids should know…
- Some art history related to slab building pottery
- Foundational techniques for making ceramics
- And how to create slab-built pottery
As an art teacher, there’s always project maintenance between class periods. But working with clay does require more intentional time. I suggest building in extra time if you can.
Tools you’ll need
- clay
- large canvas board
- slab roller
- spray bottle
- scoring tool
Day #1: Play day
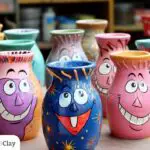
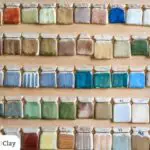
The first day of teaching the slab building technique is to get the students familiar with the clay. I like to do this in two ways…
First, I give the students a ball of clay. Extra time with clay is important. The more time the students have with the clay, the more familiar they are.
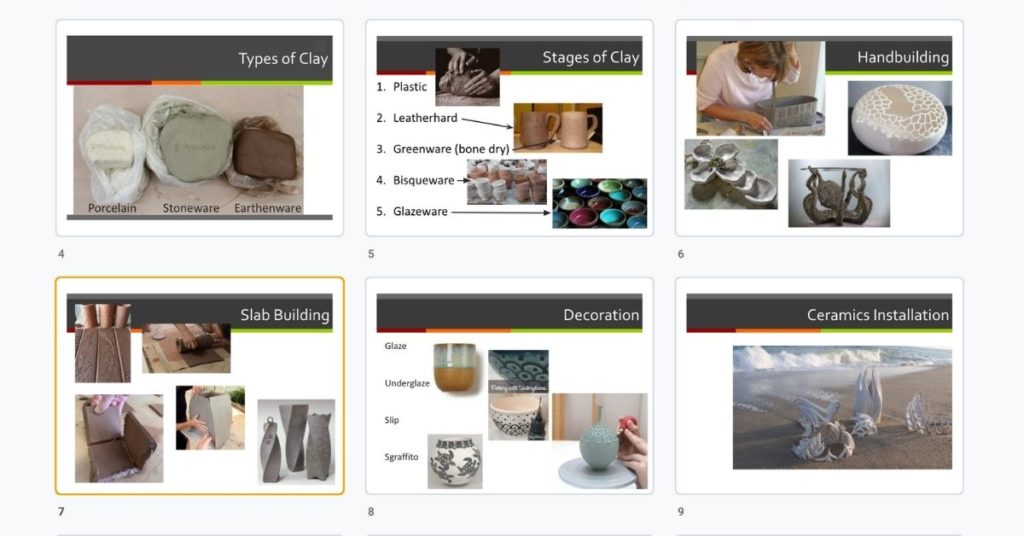
And second, I share a brief overview of clay through PowerPoint while the students are getting a tactile feel for the material. Here’s an example of the slides I share:
Once the PowerPoint is done, I walk around engaging with the students about the clay they were given.
Oh, and so, so important: A big goal of day #1 is teaching your students clean-up procedures. I’ve put a lot of ceramic lesson plans together: You don’t want to skip on this when it comes to working with clay!
Day #2: Art history & sketch design
Art history
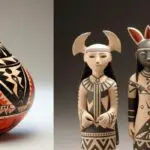
Start with a wow factor like these pieces from John Mason.

I’ve found that kids have a good attention span IF you can capture it. So on art history day, I like to teach beyond artifacts and dates.
What’s best is if you can find a person who has outrageous artwork and a good background. By featuring an artist, you can capture your student’s attention with a story. Ask and answer…
- Who is the person?
- How did they get started with art?
- Why they would make a piece like this?
I would check out the following modern potters for a “wow” factor with slab building:
Once you’ve grabbed the kids’ attention, you can move into the traditional parts of art history. I aim to cover ancient history and functional components.
Slab Building History
The earliest slab-built pots are believed to be 18,000 years old. Ancient slab artifacts are largely concentrated in Eastern Russia and Mesoamerica regions.
It seems the slab technique took a back seat in ancient ceramics based on what has been found. Most pieces from ancient times are either coil or pinch pots.
Sketching the design
Wrap up your lesson on the history and style of slab building and we’re moving on to sketching the design of our project.
I encourage you to lead the sketching process if your students are true beginners. But leave room for creative liberty if there are students who feel confident in their ceramic ability.
Break the sketch into the most basic parts. Each line drawn should be explained in detail.
Verbally and visually demonstrate the lines the students should draw. I like to use a camera-projector set up if it’s available.
If you have time, walk around to student tables to give one-on-one feedback about their sketches.
Day #3: Wedging and slab rolling
Wedging: Preparing the clay
Prepare the clay for your project with wedging. Clay can dry out between sessions. And tiny air pockets can appear when mixing clay.
Show your students the best practices for wedging the clay.
- Start the clay in a ball
- With the heel of your hand, push down in the center away from your body
- Grab clay from the side furthest away from your body.
- Then “roll” it toward you by picking it up from the edge furthest from you and flipping the clay
- Repeat for several rounds
As the students work share how kneading softens the clay, eliminates air bubbles, and distributes the moisture evenly.
I will often use a large canvas board to keep surfaces clean and to prevent the clay from picking up any materials.
Making A Clay Slab
Your next step is to start creating the slabs.
First, have your students take a piece of clay and form it into a cube or cylinder.
Share with your students that they should work slowly with the clay to start. Too quickly could break the bondages between clay particles (and you won’t know that until the piece is done firing!).
Your students should stand up. Have your class start with their palm on top of the cube or cylinder that they formed. Then, lean on top of the clay slowly to compress or flatten.
Flip the clay to the other side and repeat the process (palm on top. slowly compress). You’ll want to do this approximately 4 times as you work around the body compressing the clay.
The clay will start taking the form of a slab. I recommend working the body of the clay until it is about an inch thick. Just remember (and remind your students), a larger piece will always be more challenging than a smaller piece.
Next, you’ll want to even the thickness with a tool. There are two options:
- Table slab rollers: If you have a table slab roller, put it through slab roller to even the thickness
- Handheld clay slab rollers: If you don’t a table slab roller, you can use a handheld version that’s similar to a kitchen rolling pin.
Last thing: Store and close the slab in plastic to prevent air from getting to the clay.
Day #4, #5, & 6: Cutting slabs, stages of clay, and assemblage
Day 4 – 6 are dedicated to putting it all together. It’s where the slab construction starts to take form. Here’s a common construction technique that I walk my students through.
First, cut the shape of the slab into the form that fits the project. Once you have your slabs cut to the right size, prop the slab into what will be its final resting place. At this point your soft slabs may slump. So you may need to use something like a textbook or box as structural support.
Repeat this until the ceramic piece starts to take its final form.
Once the pieces are propped in their right place, you’ll slip and score the edges of the slabs to join the piece together. Then, leave the clay alone for the remainder of the class. The slab should be exposed to air until it becomes leather-hard. You’ll know your clay is leather hard when the stiff slabs won’t bend and that it will hold the shape of the final piece without the props.
Have your students drape plastic over the piece before they leave the classroom. Make sure the plastic mostly covers the piece but leaves space for airflow to the clay. Let it sit overnight.
The next day, I come into class to tend to the projects. What I do is remove the plastic from the projects and inspect the clay. You’ll want to spray water with a spray bottle on the sides of the slab where the color of the clay is changing. It should be a very light mist – just enough to make the color match the rest of the piece.
Side note: This is one of the more laborious parts for the teacher of doing ceramics in the classroom. I normally do a lot of the care and maintenance of the clay since students are only in my room a few times a week at most. A studio ceramist wouldn’t be limited by a class schedule!
Once your students are back in class, have them build the remaining slabs you need for the piece. Repeat the overnight process:
- Let the clay leather hard
- Cover with plastic allowing for airflow
- Spray the next morning to ensure clay stays evenly moist
Day #7: Refining
OK – you have ceramic vessels that are taking form and holding themselves up. We’re getting close to putting our works in the kiln (so exciting!).
On the 7th day of this slab building project, your students are given a chance to refine their work. Maybe the assemblage didn’t go well, or the clay shifted during the drying process. Maybe your student wants to add a unique pattern. Whatever it is, day 7 is here for it.
Slab pottery ideas for beginners
You’ve seen the step-by-step. Now, let’s take a look at a few slab project ideas that students at the beginner level can tackle.
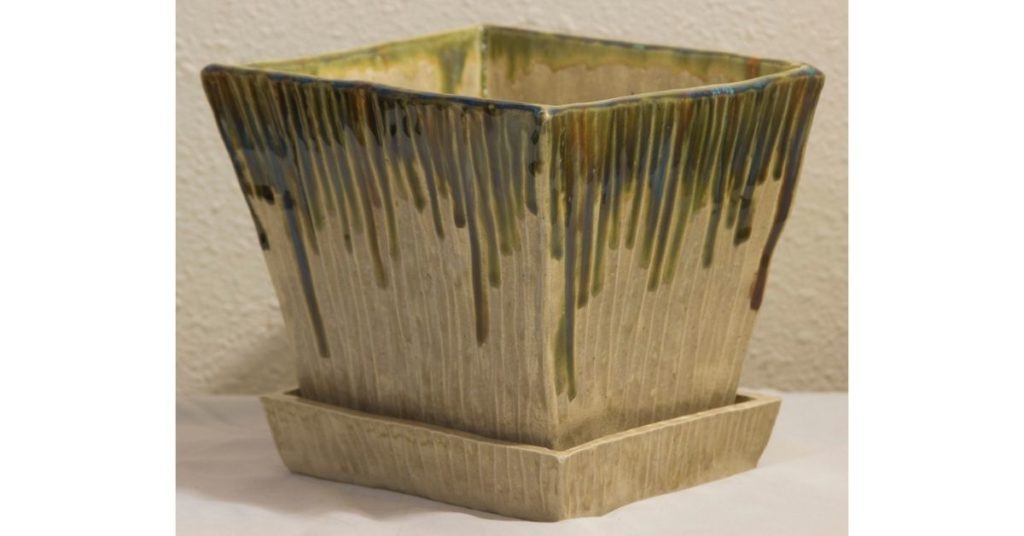
Project idea #1: Slab built planter
Ceramic pieces are a great way to spruce up your garden. And slab-built structures pair well with planters.
Try creating a slab-built planter like this beautiful example from Slip and Weld on Etsy.
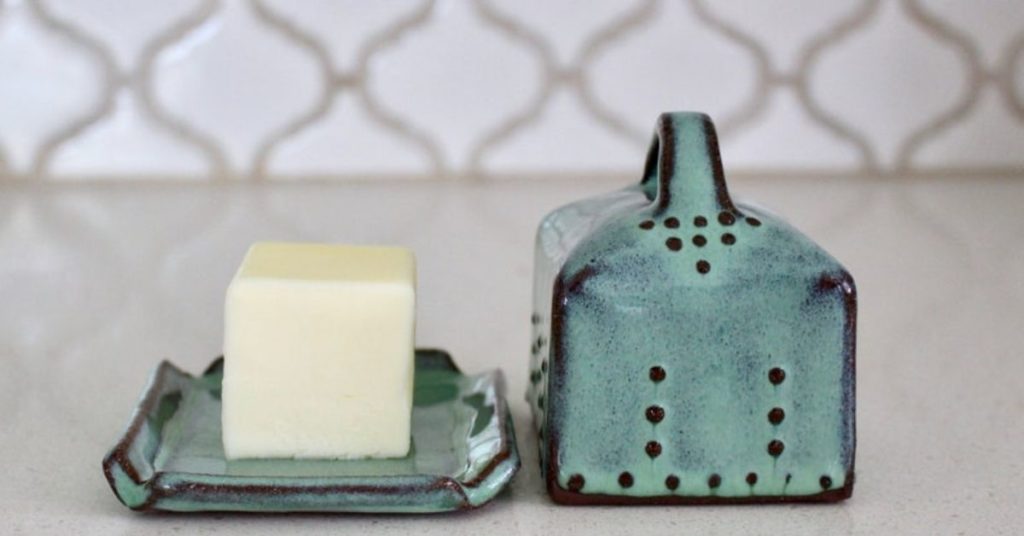
Project Idea #2: Slab built butter dish
Parents love when their students bring stuff home… I’m only partially kidding. 🙂 The size of a butter dish makes the project accessible to beginner skill sets.
Here’s a good example of a slab-built butter dish from Back Bay Pottery on Esty.
Project Idea #3: Slab built flat plate
Plates CAN be incredibly difficult projects. But can be simple and are super functional. So it’s a good hand-building pottery option for students. Here’s a fun option on YouTube from Frank Curkovic.
Looking for more ideas? Check out our article “21 pottery ideas for beginners.”
Conclusion
There’s the lesson! I hope you got a lot out of it.
There are certainly ways to make your lesson a little more challenging with textures, hump molds, a slump mold, and the like. So consider adding a design element to the flat surface if your class is feeling adventurous or you’re teaching an advanced level.
Remember, two important things:
- The lesson plan is ideal for high school students but can be modified for middle school-aged kids. If you have questions on how to do this, email hello@wheelandclay.com. I’ll (Kristen) will give you some pointers 🙂
- The 7 days of lessons are scaffolded meaning each day builds upon the last lesson. Each day shares a skill. The following day will use the previous day’s skill and add a new skill.
Teaching ceramics is a lot of fun. Clay is messy and tactile. I’ve always had a blast teaching my students about pottery.
And now you have a slab-building lesson plan in your back pocket.