If you’re working out of a studio with a shared kiln, there’s a chance you haven’t had much experience with a kiln. You’re probably here today because you’re starting on your kiln journey and trying to answer the question “what does cone mean in ceramics?”
That’s exactly what we answer in this article: What are pottery cones, how do potters apply them to the firing process, and what do I need to know when purchasing a cone?
What is a cone in ceramics?
A cone in ceramics is an item that is added to the kiln during the kiln firing process and helps a potter know if a ware has been fired properly. A cone is made from ceramic materials and visually changes when the heat work reaches a specific temperature and is sustained for a set period of time.
It’s similar to cooking.
Say you set your kitchen oven to 400 degrees for a pork roast. You let it cook the amount of time your recipe said to, but how do you know that the meat is cooked through and safe to eat? A meat thermometer.
Cones are the meat thermometer of making pottery in a kiln.
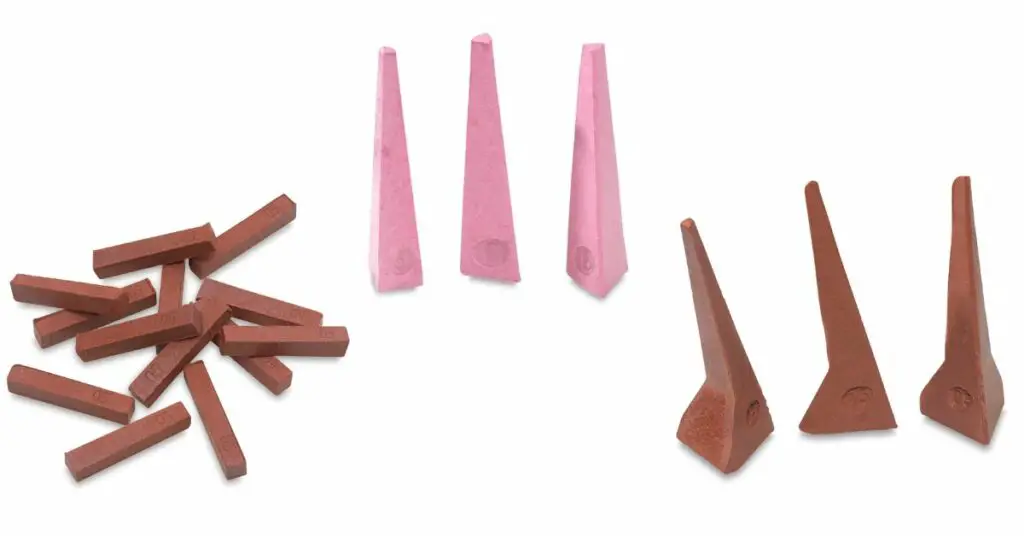
The different types of pyrometric cones
If you’ve ever been to your local ceramic store, you know that picking out the right items can be a chore. The shelves are loaded floor to ceiling and the words on the packaging sound like a foreign language. Let’s talk about the 3 different types of pyrometric cones so that you can be prepared next time you’re at the store.
1. Bars
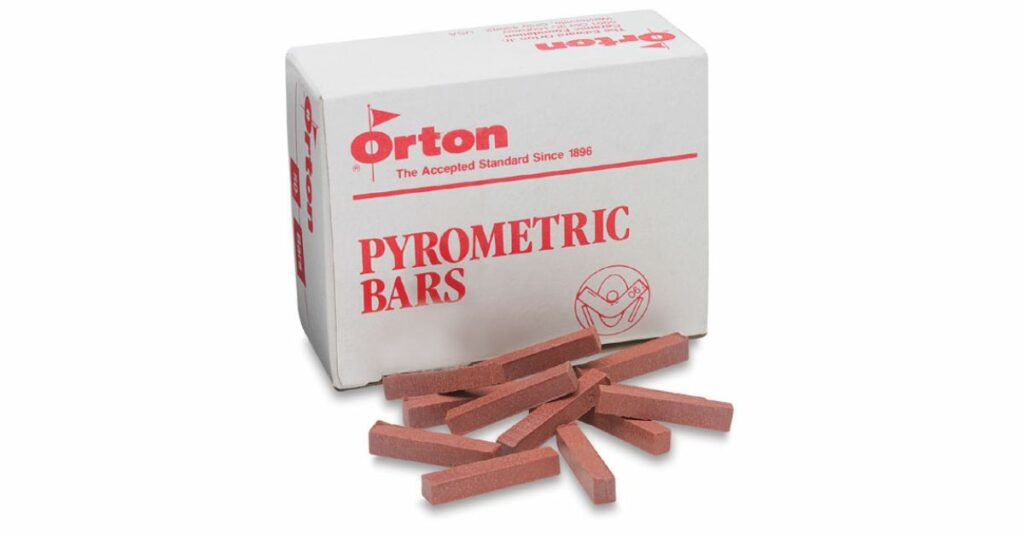
Bars are small cones that require a kiln sitter. A kiln sitter is a device that’s typically used with an electric kiln. It ensures your kiln heats to the right temperature for the right amount of time. A bar cone sits on top of a kiln sitter and will melt when the temperature/timeframe is reached.
2. Standard Cones
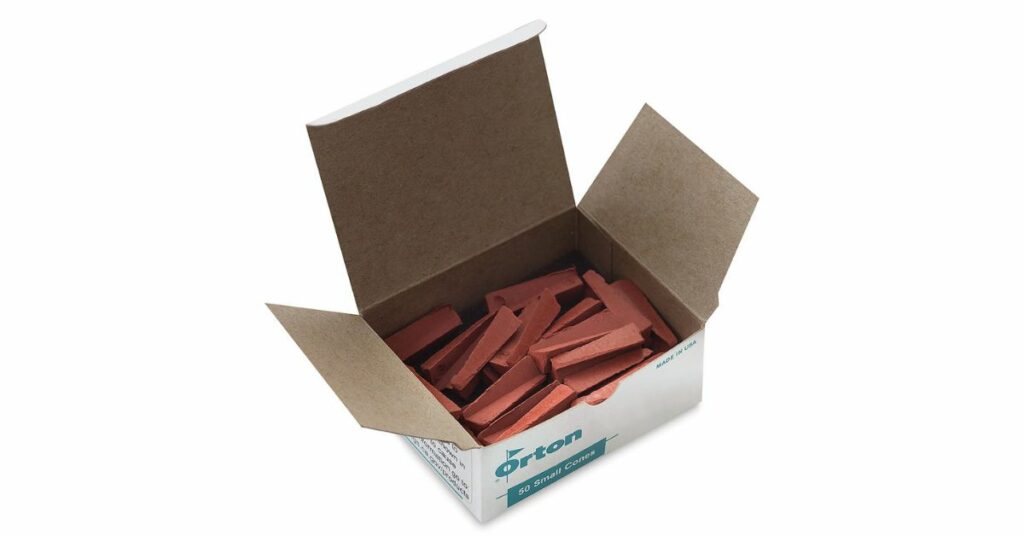
Standard cones are typically used as part of a cone pack setup. we talk about cone packs (or witness cones) here in a minute. The cone is typically twice as large as a bar, but plays a similar role: It begins to bend and provides a visual cue to the potter when a temperature has reached a certain level.
3. Self-Supporting Cones
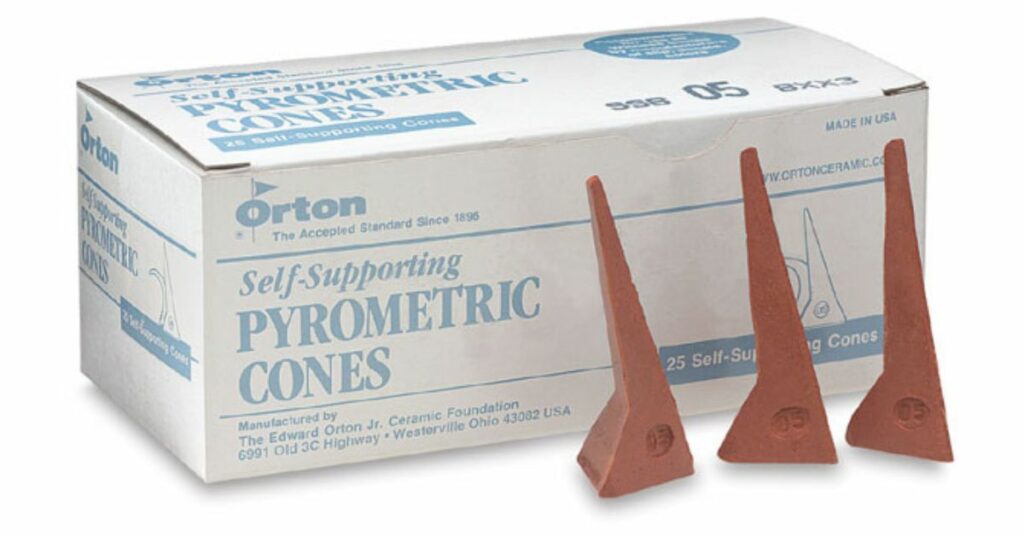
Lastly, we have self-supporting cones. These cones are similarly sized to large cones, but have feet or a little support. That means they can stand on their own instead of in a cone pack when placed on a kiln shelf.
Last thing to prep you before your store run: As you research online, you may see “orton cone”. Orton is a popular brand that makes cones, so just know that’s like the Kleenex/tissue situation of ceramic products.
What do the numbered cones mean?
The cone number you pick will have a distinct effect on how the clay body is transformed or solidified.
The cone system is ordered where the lowest number is the lowest temperature and the highest number is the highest temperature. 022 is a low temperature cone while 10 is a high-temperature cone (such as used with crystalline glazes) and often the maximum temperature for pottery kilns you and I would be using. The cone values go:
- 022
- 021
- 020
And once they reach 0, they start counting up.
- 02
- 01
- 1
- 2
Cone temperatures are grouped into different temperature groups based on how they melt. Most potters would recognize these groups as low-fire, mid-fire, and high-fire.
Each group determines the temperature range for the kiln. But the cone groupings can be broken down further to account for a project’s specific temperature.
Very low fire
Cones between 022 to 011 are in a “very low” firing range. The temperature range is 1049°F – 1641°F. This range is most commonly used in firing enamels, decals, and overglaze decorations.
Low fire
Cones 010 to 02 are in a “low” firing range. The temperature range is 1636° – 2138°. This range is most commonly used in bisque firing (one of the stages of clay) and firing some glazes. A bisque fire changes the nature of clay from dirt to ceramic. Clay bodies in this stage hold shape and are porous. Plus, bisqueware is ready for glazing since the surface is turned porous and is able to soak into the entire piece.
Low-mid fire
Cones 01 to 3 are in a “low-mid” firing range. The temperature range is 1999° – 2052°. This range is most commonly used in firing many glazes. Some clay types like terracotta become durable.
Mid-fire
Cones 4 to 7 are in a “mid” firing range. The mid-fire range is sometimes referred to as a glaze fire. The temperature range is 1999° – 2052°. This is the most common range for potters to do a final glaze firing. Your finished pieces in most stoneware, earthenware, and porcelain will be fired in this range.
High-fire
Cones 8 and higher are in a “high” firing range. The temperature range is 1999° – 2052°. At this higher temperature, glazes go through a reduction process. The reduction process can change the texture of the clay, typically by making it more glass-like (vitreous).
This range is also commonly used in industrial firing. Think ceramic parts for your car or toilets. These items need to be fired at incredibly high temperatures. Either most commonplace kilns or their power sources can’t reach cone ranges above 10.
To learn more about these different cones, be sure to visit our blog “Pyrometric cones: Kiln temperatures for firing pottery“. On the blog you’ll find a description of each plus a cone chart that will help you determine the right temperature and cone to use in your project.
How to use a pyrometric cone

Now it’s time to actually apply your knowledge about cones and firing something in the kiln. The best way in my opinion to use cones when firing is to create a cone pack.
A cone pack is sometimes referred to as a witness cone since it gives you a visual cue of how your pottery is doing. The cone pack gauges when 3 different temperatures are reached during the firing process. There are three parts to a cone pack:
1. Guide cone
A guide cone would be one cone value lower cooler than the optimal fire temperature and timeframe. So if you’re firing at cone 6, you would select cone 5 to be your guide cone.
2. Firing cone
The firing cone is the target cone value that is the optimal fire temperature and timeframe. Once the desired temperature and timeframe is reached, the firing cone would melt.
3. Guard cone
The guard cone is your warning cone. It’s typically a cone value 1 higher than your firing cone. So if the firing cone is cone 6, your guard cone is cone 7.
To assemble a cone pack, start by finding a lump of clay. Create a “boat” or an area that can catch melted material from the cones. Then stick your guide cone, fire cone, and guard cone into the clay angling toward the boat. Your guide cone should be closest to the boat as it will likely melt the most.
Once assembled, the cone pack can be placed on any of the kiln shelves as long as it’s visible to the potter. Here’s a helpful video from YouTube Christine Caswell on how to make a cone pack.
Conclusion
In this article, we cover how cones help potters when firing in the kiln. A cone informs a potter when a specific temperature range has been reached and when the ceramic ware has been fired to the appropriate level. We also learned there are different types of cones depending on what equipment we’re using to fire the pottery. And lastly, we learned how to make a cone pack that gives us visual cues during the firing process.
So there you have it. All you need to know about cones – or at least enough to know what you’re picking out at the store next time you’re there. If you have any questions for us or think we missed something, please reach out!

