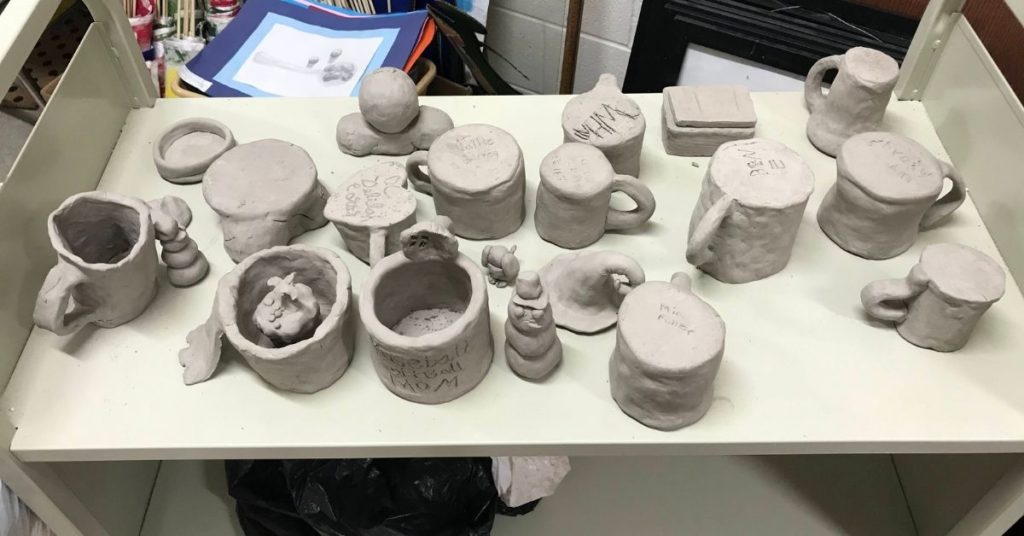
You’ve made it to the greenware stage! But what is considered greenware ceramics and what does it mean for your project?
In this article, we’ll what stage of making ceramics is considered greenware, how to decorate greenware ceramics, and how you can help your pottery pieces dry properly.
What is Greenware in ceramics?
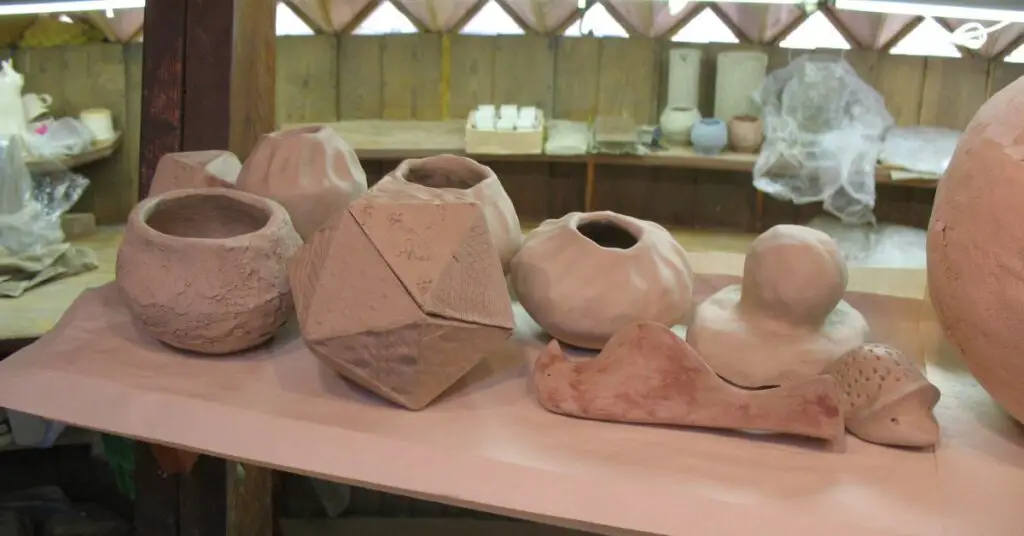
Greenware in ceramics refers to the clay body after it has been formed into its desired shape but before it has been fired.
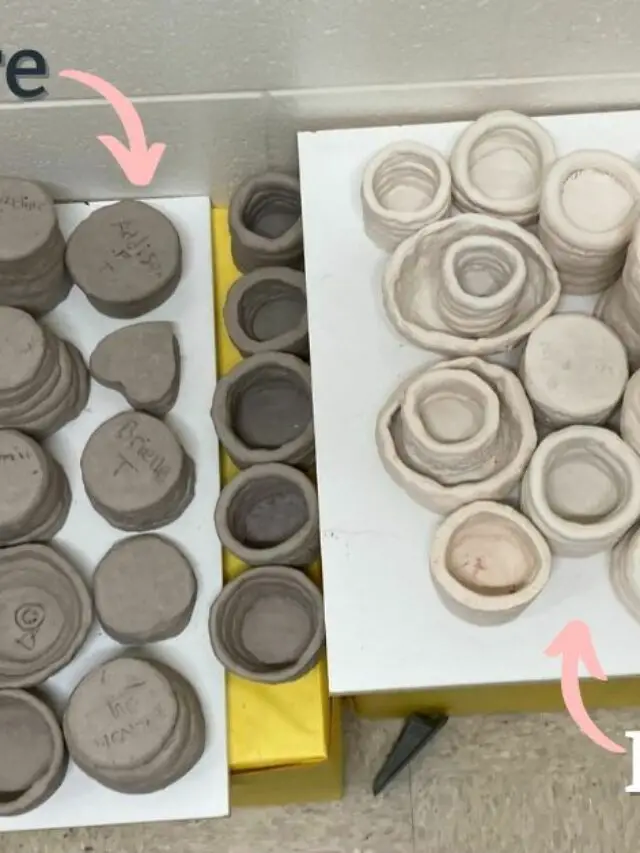
Greenware is a general term that includes 3 of the 7 stages of clay. Greenware falls between slip and bisque firing. It is called greenware because it has not been through the firing process, which gives pottery its hardness and durability. Greenware is fragile and must be handled with care. Once it has been glazed and fired, it becomes known as stoneware or porcelain. The firing process gives the piece a glossy finish and makes it watertight.
The 3 stages of greenware
After the clay has been shaped, it must be dried before it can be fired. The stages of drying that occur after initially shaping the pottery are grouped together as greenware.
1. Plastic clay
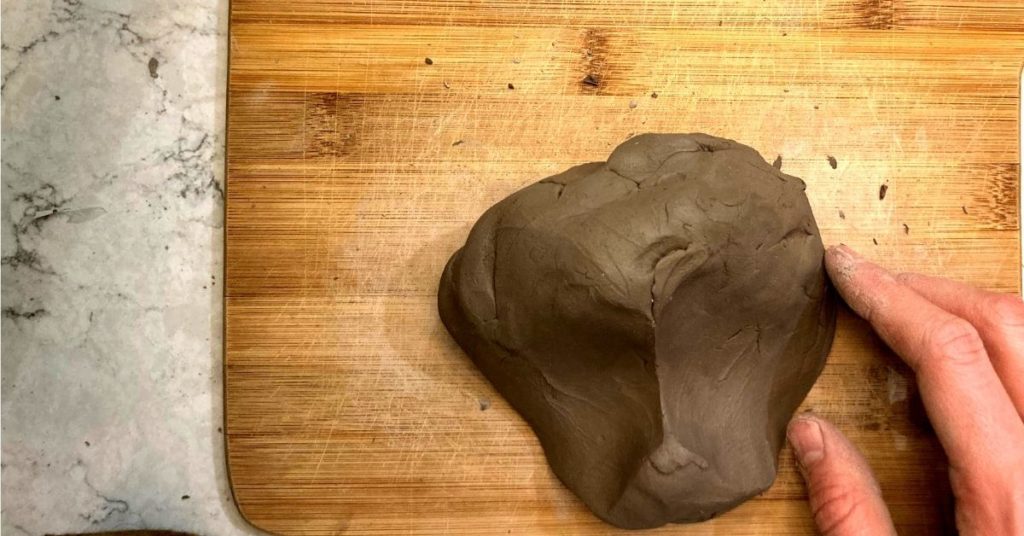
In this first stage of greenware, The clay will hold its final shape but is still plastic. Plastic means it’s malleable clay and can be changed through applied pressure. Clay bodies still has a high moisture content at this point. The clay will hold to whatever form you sculpted it to.
2. Leather-hard clay
Clay becomes “leather-hard” after clay has had time to dry. The surface of the clay will start feeling hard, but is still available to carve or join depending on what your ceramic piece calls for.
3. Bone dry stage
The last stage of greenware (and the stage right before it’s time to fire) is called bone dry clay. The piece has dried to the point where moisture in the clay body has evaporated. This dry greenware stage is ready for firing.
Tips on drying clay when it’s in the greenware stage
Once a piece of greenware has been sculpted, it needs to be dried before it can be fired. Drying greenware can be tricky, as the clay is susceptible to cracking and breaking if not done correctly. Here are some tips on drying greenware:
- Place the piece on a flat surface in a well-ventilated area.
- Allow the piece to air dry slowly in room temperature. This could take several days or even weeks, depending on the thickness of the clay.
- Check on the piece regularly to make sure it isn’t drying too quickly or too slowly.
How Fast Should I Dry Ceramic Greenware?
Drying is a critical stage (and most boring) of making pottery. We all just want to get on with it, but ceramic making takes time.
When it comes to drying ceramic greenware, there are a few things to keep in mind. The first is that the piece should be dry to the touch before moving on to the bisque stage. Depending on the size and thickness of the piece, this can take anywhere from a few hours to a few days. If you’re unsure, it’s always better to err on the side of caution and give it a little longer to dry.
Plastic clay is a lot of water. It’s typically made up of 20% water. A piece needs to become bone dry between the plastic and firing stages of clay. During the drying process, pottery shrinks.
If the pottery dries in one section quicker than another, it also shrinks in that section more quickly than the other. This imbalance results in stress on the ceramic body. Stress often equals pottery cracking while drying. Another part of drying to consider is the surface versus the internal layers. The part of your clay exposed to the air will dry more quickly than the internal layers. A large piece cracks more often because internal and external clay layers dry at different rates.
Good news: We can prevent it by adding small amounts of water to the fast drying areas with a spray bottle. This keeps the clay piece drying evenly. I would also recommend draping plastic bags over the pieces while drying. The plastic bag will prevent airflow from an air conditioner or fans from drying one side or area of the pot.
Decorating greenware ceramics
If you’re looking for when to glaze a piece, you’re at the wrong stage. You’ll want to skip ahead to the bisque stage where your piece has been fired once and is porous. Here are a couple of ways you can decorate your piece at the greenware ceramics stage.
1. Acid etching clay
Acid etching is a process of applying an acidic solution to the surface of a ceramic piece. Unlike with traditional etching tools, the acid is less predictable and creates patterns from reactions between the clay and solution.
Acid etching can also be applied to glazed works creating a crystalline
2. Carving or incising clay
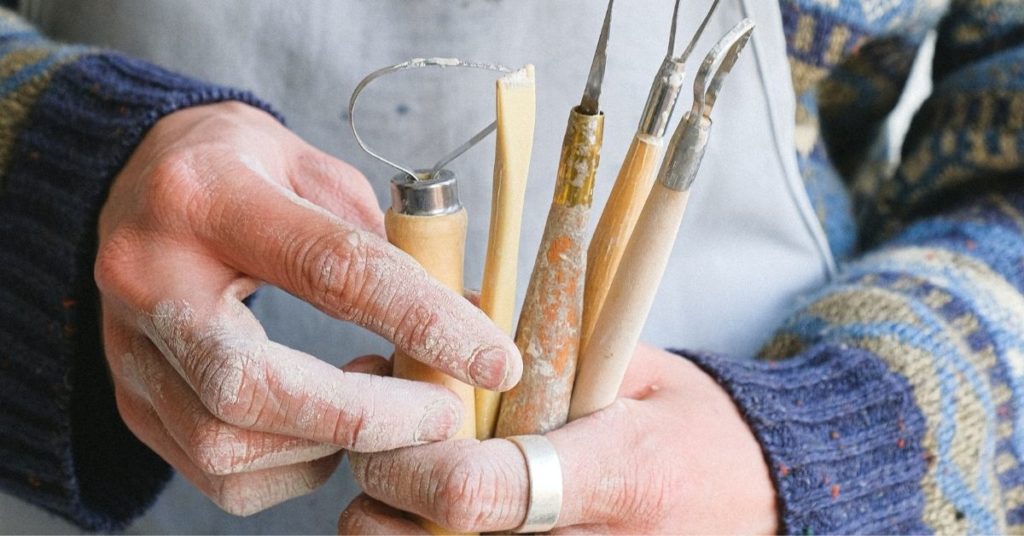
Carving is done with simple tools often called sculpting tools. Most potters can get away with
The process of carving ceramics begins with greenware, which is unglazed clay that has not been fired. You’ll want to carve at the plastic or stiff leather-hard stage when the surface of the clay is still soft. If you’re fighting the surface of the clay too much because it’s hardened, you may mess up your design.
Carving ceramics is a great way to add personalization and flair to your pottery. With a little creativity, you can create one-of-a-kind pieces that are sure to impress your friends and family.
3. Embossing or debossing clay
Embossing ceramics is a captivating technique that adds texture and depth to pottery pieces. By raising a pattern off the background surface, potters can create intricate designs that enhance the overall aesthetic appeal. This method is often employed to create visually striking patterns, motifs, or even personalized text on clay objects.
The process of embossing typically requires the clay to be in a soft leather-hard state. This stage of the clay’s drying process allows for greater flexibility and ease of manipulation, ensuring that the clay retains its structural integrity while the embossed pattern is being formed. Timing is crucial, as embossing too early can cause the pattern to distort, while waiting too long can make it difficult to achieve the desired level of detail.
To achieve various embossed styles, potters have a plethora of tools and resources at their disposal. Numerous online vendors offer a wide range of stamps and texturing tools specifically designed for embossing ceramics. These tools often feature intricate designs, geometric patterns, or nature-inspired motifs that can be easily pressed onto the clay surface. The choice of tool largely depends on the desired aesthetic and the potter’s individual creativity. From floral imprints to geometric shapes, these tools provide endless possibilities for artists to explore and create captivating designs.
By utilizing stamps and other texturing tools, potters can take their embossed ceramics to new heights of artistic expression. Whether adding a subtle touch of texture or creating bold and intricate patterns, these tools enable potters to enhance their creations and imbue them with unique character. Embossing ceramics not only adds visual interest but also creates tactile experiences, allowing individuals to appreciate the artistry through both sight and touch.
What is the difference between greenware and bisqueware?
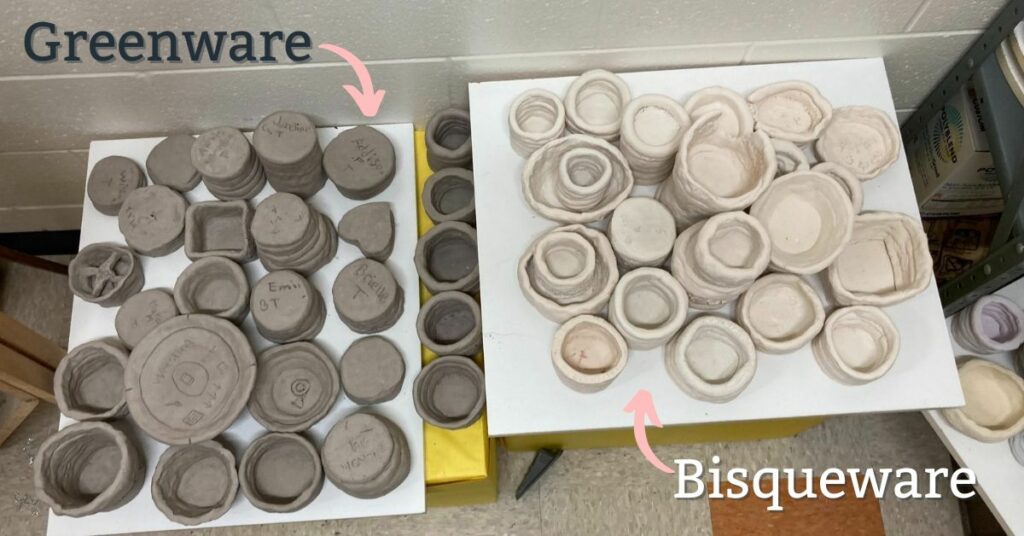
While greenware is unfired pottery bisqueware are clay objects that have been fired but not glazed yet.
The bisque ware stage is where a potter can add vibrant colors and add food-friendly glazes to the piece. You can learn more about bisque ceramics on our blog.
Once you’re done drying your piece out, it’s time for a high temperature fire. The bisque fire makes your piece ready for glazing, painting with acrylic paint, or many other kinds of decorating. If you want to learn more about the different stages of clay, be sure to check out our article “the 7 stages of clay“.
Conclusion
Greenware is a stage of production in the ceramic process when your ceramic piece has been shaped, but not fired. It includes the stages between raw clay and the glaze firing stage. Greenware ceramics can be decorated through 5 different techniques.
Thanks for taking the time to read through our article on greenware pottery. You’re a better potter for it! Click here to read our article about pottery clay – where it comes from and how it becomes pottery material.
If you learned anything new or have a correction to make, we’d love to hear from you! You can leave a comment or simply email us at hello@wheelandclay.com.
Related articles
Everything You Need To Know About Clay For Pottery
Bisque ceramics: A short guide