So you’re starting a pinch pot handbuilding project? Exciting!
A clay pinch pot is a great and easy way to get into pottery. I would go as far as saying it’s the easiest way to get started. So if you’re a first-time ceramic artist, you’re in the right place. In this article, we’ll go over how to make a pinch pot and share some clay project ideas to get started.
This is also a great project for those just starting out not wanting to spend a lot on materials and equipment.
What is pinch pot?
A pinch pot is a method of handbuilding where a potter makes a clay body by pinching the clay into shape using thumb and fingers.
Handbuilding is a fancy way of saying you make pottery without the use of tools. The other types of handbuilding are coil pots and slab building. If you’re interested in learning more about handbuilding, check out our article “Handbuilding Pottery – A Complete Guide“.
How to make a pinch pot
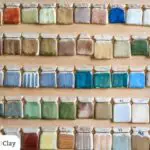
Picking the right clay

The first thing for any project is picking out your clay. It’s pretty important. So important in fact, we wrote a whole article about it. You can read “How to choose pottery clay for your next project” at the link.
My recommendation for beginners is clay that makes stoneware. But don’t let that stop you from starting if that’s not the clay you have!
On to clay pinch pots though… You can make a pinch pot out of any clay including air-dry clay or homemade clay. But I do recommend keeping a few things in mind when selecting your clay.
First off, I would recommend a type of clay that’s plastic or easy to shape. The best two for that are earthenware or stoneware. Plus, it doesn’t hurt to use clay grog. Grog is clay that has been fired and then ground up into a powder. The powder is then added to the clay to make the clay workable. Grog also helps prevent clay from cracking when it’s fired because it prevents extreme shrinkage.
Again, if you want to dive deep on selecting clay, click the following link to read our article: “How to choose pottery clay for your next project”
Fast project tip: If you’re looking to get your hands into a project without needing a kiln (here’s looking at you homeroom teachers and homeschoolers!), air dry clay is a great option. Just note you can’t glaze air dry clay. But you can use acrylic paint to decorate and spruce them up.
Preparing the clay for the project
OK – A piece of clay is sitting by your workstation ready to be molded. What now?
First, you want to avoid having a surface that would cause the clay to stick. I will often use a large canvas board (Amazon) to keep surfaces clean and to prevent the clay from picking up any materials. If you don’t get a canvas board, just make sure your work surface is incredibly clean.
Next, you’ll want to wedge the clay. The wedging process makes clay malleable, distributing moisture evenly, and removing air bubbles.
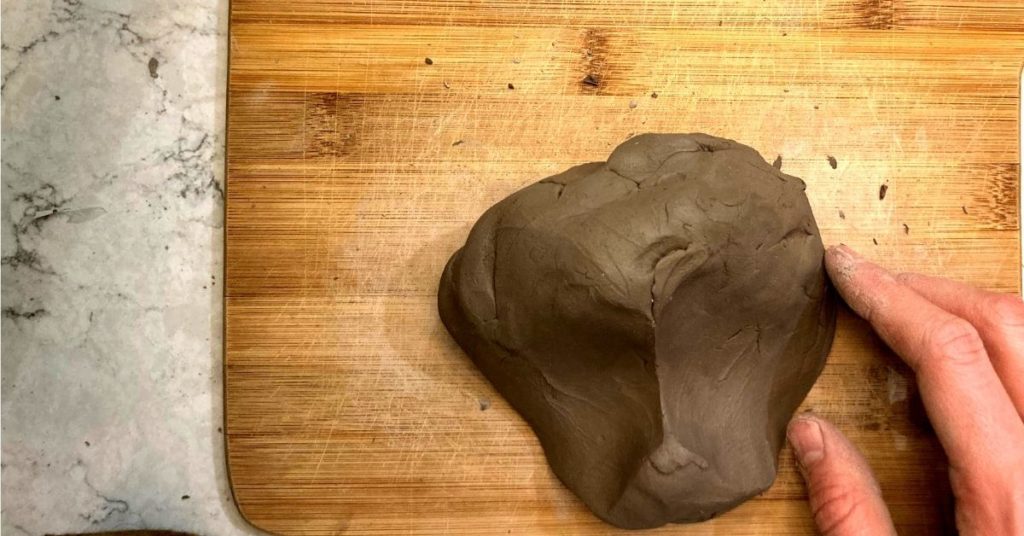
Check out our article “How To Wedge Clay” for more on getting your clay ready.
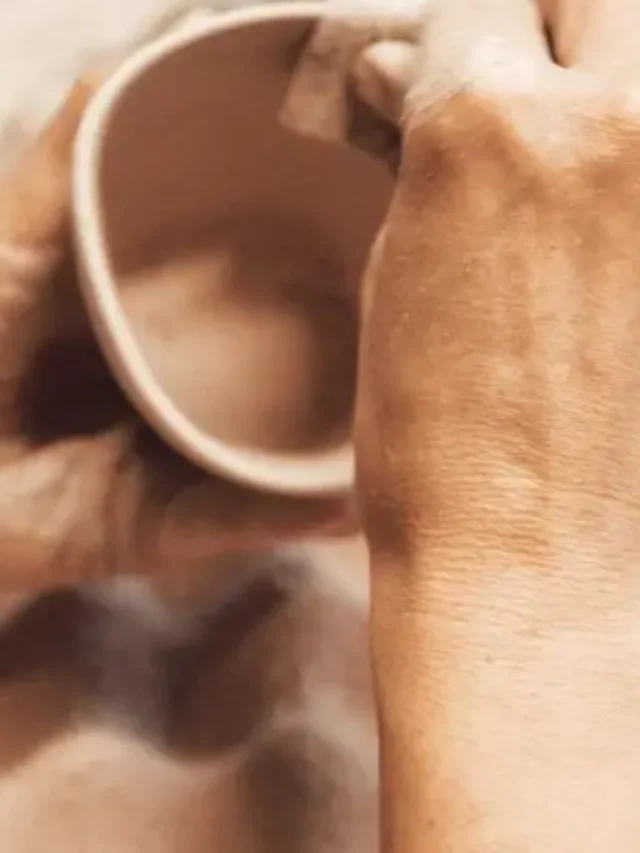
Forming the pinch pot
Now that you have your clay picked and the surface clean, it’s time to make a pinch pot!
Carve off a small amount of clay for the pinch pot. By necessity, pinch pots need to be small (unless you have huge hands!). Here are the steps:
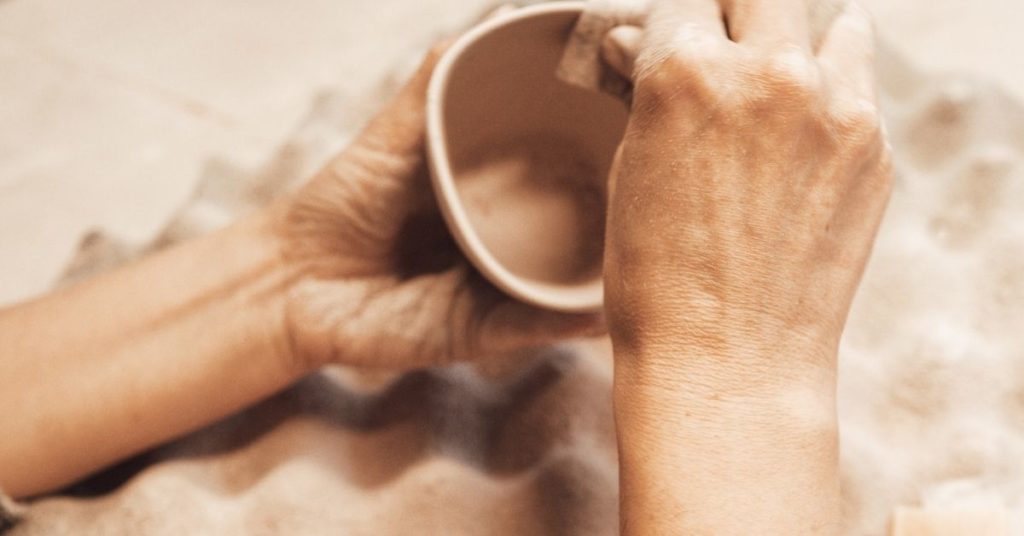
- Make a small ball of clay like a giant meatball.
- Put the clay in the palm of your hand. Press your thumb into the center of the ball. You’ll want to go about 3/4s of the way through to the bottom of the pot.
- While your thumb is in the sphere, pinch with your middle and index fingers on the outside.
- Turn the sphere to a new area and pinch again.
- Repeat the “pinch and turn” (steps 3 and 4) all the way around the clay ball until you reach the desired shape.
Your clay ball will start to take the basic shape of a small bowl. The bowl will have imperfections. Smooth out the edges, cracks, and separations for uniform service using your fingers. The inside, outside and rim of the pot – all of it should be consistent and smooth clay.
The whole clay body should be even and nothing should be flimsy. As a rule of thumb, you want the clay vessel to be the width of a pinky (or more) when you’re done.
Storage: If you’re going to be returning later to the piece to form it more, make sure you store the piece in an airtight place so the clay body maintains the moisture. I typically keep clay pots in a plastic bag. You can also spray a little water on the vessel to keep it moist while stored.
2 things to avoid when making a pinch pot
- DON’T PULL: It’s a PINCH pot for a reason. If you pull instead of pinch, your pot will start to look like a sad flower. It’ll also be too weak to hold a form and has the potential to fall apart when firing.
- DON’T PUSH TOO FAR: When you first put your thumb in the clay ball, don’t push all the way through or get too close the base of your pot. Luckily, if you’re at this stage, it’s easy to start over. Just roll the clay back into a ball and press your thumb in the center.
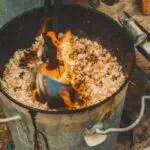
Drying and hardening
The next couple of steps largely depends on what clay you use. If it’s air-drying clay, you air dry it (simple!). Check the clay’s package for the drying process.
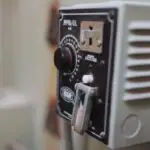
If it’s a clay that needs to be fired, it’ll take a kiln. The clay’s package should give you an idea of how to fire it. Or there’s typically a friendly expert around if you’re working out of a studio.
Decorating the surface
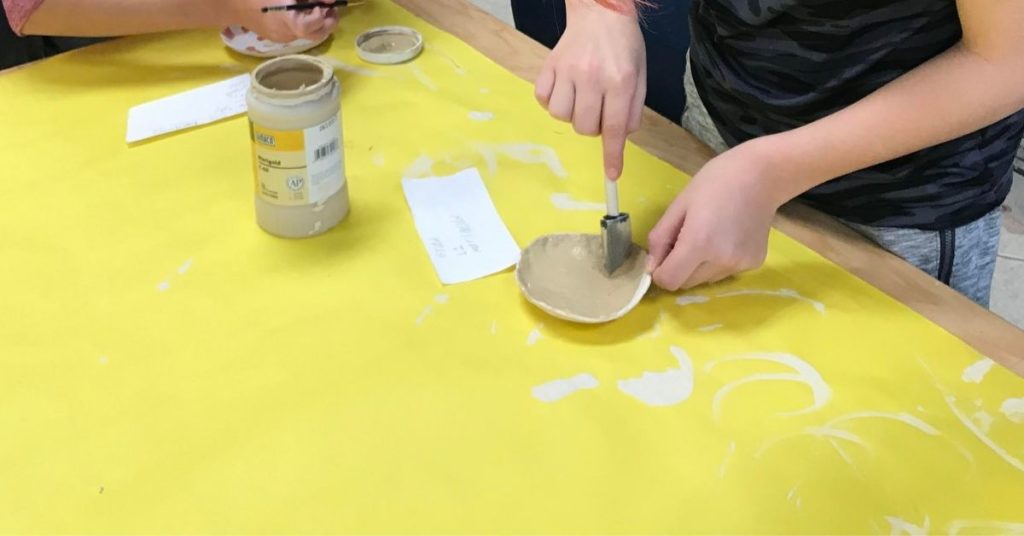
My students glazing their works during a pinch pot lesson plan
With a carving tool, you can add designs to the edges of the vessel. A toolset like this (Amazon) would cover most everything you need.
There’s a bit more to it if you want to paint or glaze your pieces. And the decision largely depends on the clay you choose at the beginning.
For polymer clay, you can use water-based paints or chalk to paint on the surface of your pot. Acrylic paints or latex paints are best for air-dry clay. You can glaze a clay that’s stoneware, earthenware, or porcelain.
3 Creative pinch pot ideas for beginners
Like all art forms, getting your hands dirty with pottery projects goes a long way in teaching you the ins and outs. So let’s put the basic making techniques of forming clay into practice. Each of the following projects is a fantastic way in getting acquainted with pinch pots.
1. Pinch pot mugs
For your next pot, consider a mug. It’s an ideal project for a beginner and a great way to test out pinch pottery. Why? Well, you can use a mug every day which is rewarding to see one of your works in action. Plus, you can make a simple pinch pot and still call it a mug. Here’s a great example from Dry Bones Clay Company on Etsy. They did a fun thing with the finish.
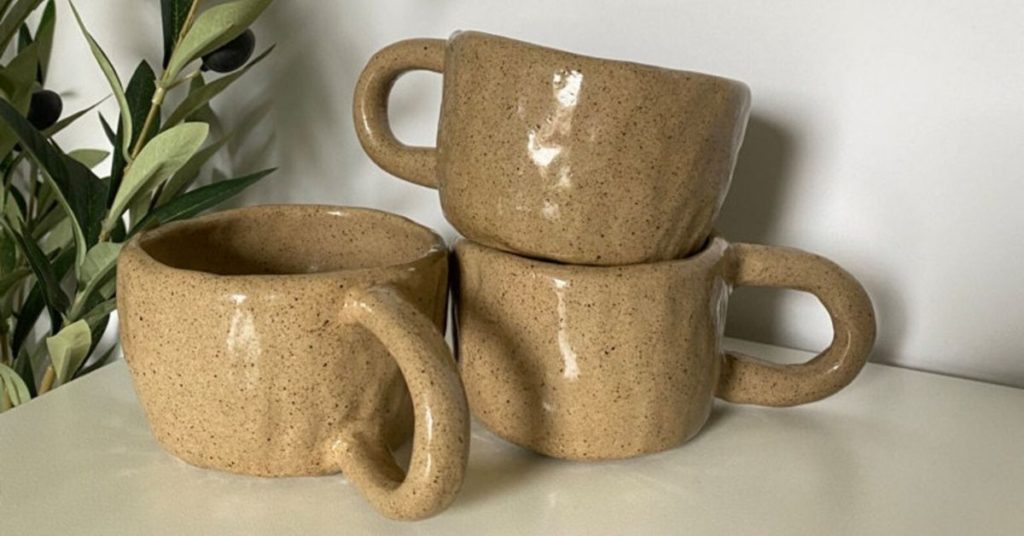
Now, I will say that you will likely need to glaze and fire a piece to make it food safe. Most unglazed clay is too porous to be food-safe, so be sure to research before using it on a piece intended for the kitchen.
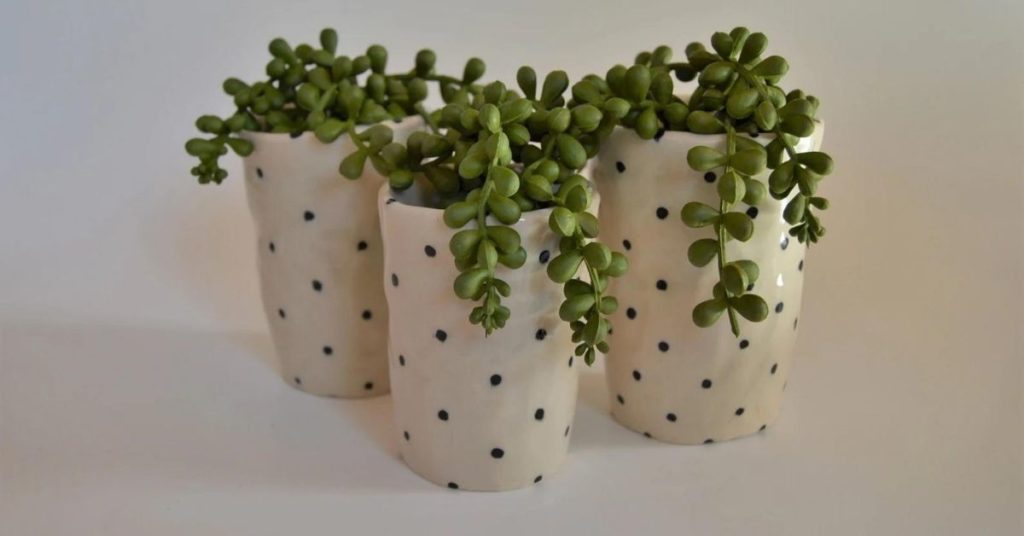
2. Succulent planters
A succulent planter can be a great accent in your house and a great project for trying your hand at pinch pots. And this project can vary in difficulty if you’d like a challenge. The deeper vessel the higher the difficulty. Here are adorable clay planters from lizzzzzie on Etsy to inspire you.
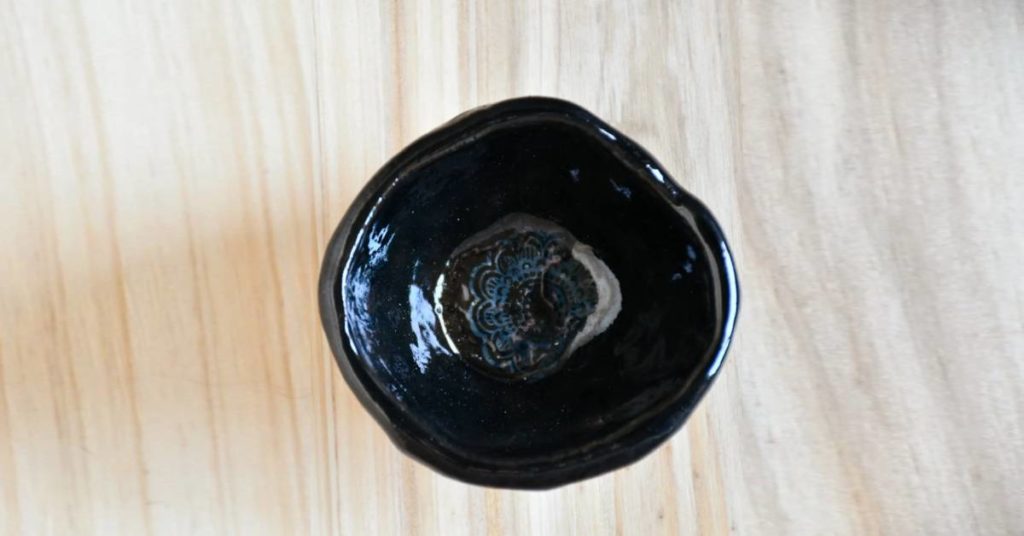
3. Jewelry Tray
This is probably the easiest option on this list as it’s a basic pinch pot. Why? Because you can royally mess it up and it can still turn out as a jewelry tray! Plus, it doesn’t need to be food-safe. That eliminates a lot of research into your clay and glazing. Here’s a fun example from an artist on Etsy called Brae Coulior Pottery.
There are a bunch of household items you can make with the pinch pot technique. What other ideas can you think of? Add it to the comments!
4. [Bonus] Pinch pot + coil pot
OK, I couldn’t help myself. Here’s a bonus 🙂
You can tackle TWO of the handbuilding techniques if you’re looking to really challenge yourself. Combining coiling and pinch pots is typically utilized when a potter has a simple base with a more intricate finish at the top of the pot. Below is a good example from Jeremy Blackburn on YouTube demonstrating how to do this. You can see he starts with a pinch pot base and then adds coils to build the pot.
One of the reasons he shares why you might combine the two methods is to curve the shape of the body. The shape depends on where you place your coils. If you place a coil of clay on the inside of the pot, the shape will curve in. If you place the coil of clay on the outside of the pot, the shape will curve out.
Looking for more ideas? Check out our article “21 pottery ideas for beginners.”
Conclusion
And that’s how to make a ceramic pinch pot! It’s a fun and simple technique that doesn’t require a potter’s wheel or heavy-duty equipment. When I teach a unit on ceramics, the first project for the kids to tackle will be with the pinch pot method.
Though pinch pots are a great start with pottery, there are other ways to explore the ancient craft. If you want to learn more about the other handbuilding technique, be sure to read out article “Handbuilding Pottery – A Complete Guide“.
If you try out the technique, we’d love to see your projects. Take a picture and email it to hello@wheelandclay.com. We’ll hang it on our virtual fridge.