Potters slip is a liquid mixture of clay in water. You’ll sometimes hear slip referred to as clay slurry. It has a consistency similar to heavy cream though it can be runnier depending on the project for which you’re using the slip.
Learn all about slip by visiting our article all about clay slip here.
But you’re here to learn how to make potters slip. So let’s get into it.
How to make clay slip
- Collect clay scraps and dry clay blocks
- Break up the clay slabs into coin-sized pieces
- Add your clay to water in soak
- Blend the clay/water mix with a kitchen blender
- Straining your slip to make it absolutely smooth
- Store the pottery slip so that it maintains its consistency
Slip is the best price: FREE!
It shouldn’t cost you anything if you’re already making pottery. The goal is to recycle unusable clay into potters slip. I look around the studio and gather clay that won’t (or can’t) be used in the future.
What you’ll need
- Dry clay
- Hammer
- Container that has a sealable cover (bucket, Tupperware – something airtight!)
- Container of water
- Saran wrap
1. Collect your clay
I typically start by finding shavings that have been leftover from sculpting other works. You’re not able to use scraps this small for much other than slip, so it’s a perfect item to recycle.
Potters Tip: As you get more experience with pottery, you start saving things like shavings for future projects.
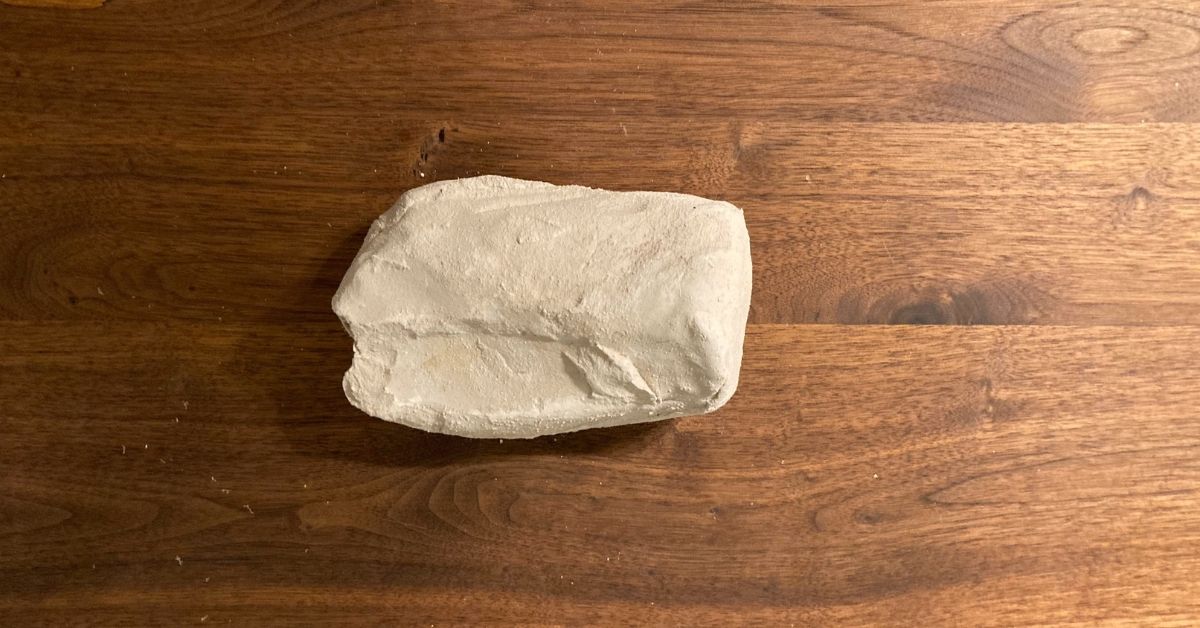
Next, I’ll look for any clay slabs that have hardened too much to use for future projects. This is bound to happen over time if you’re working with clay.
But sometimes you can’t find that already dry clay and the scraps around the shop don’t add up to much. In this case, I’ll take my oldest, driest clay and leave it in the sun until it’s hardened.
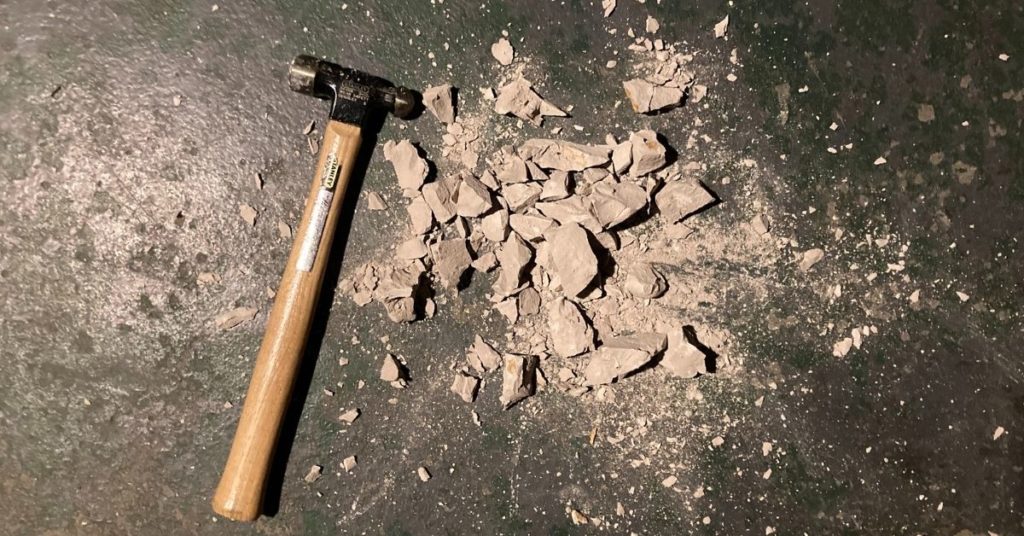
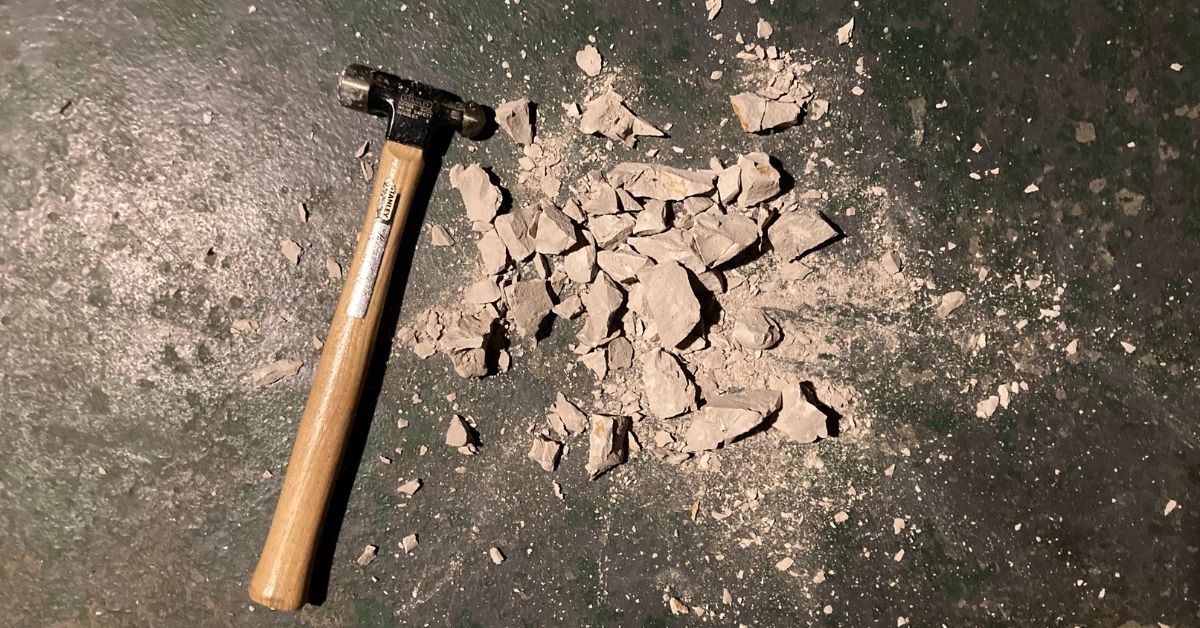
2. Break up the clay slabs
Next, I’ll grab the dry slabs and my hammer. Time to smash!
You want to break the slabs into pieces that are about the size of a coin.
Be careful: You don’t want to break up so much that you’re choking on dust! I advise starting off gently to gauge how hard it is to break the pieces apart.
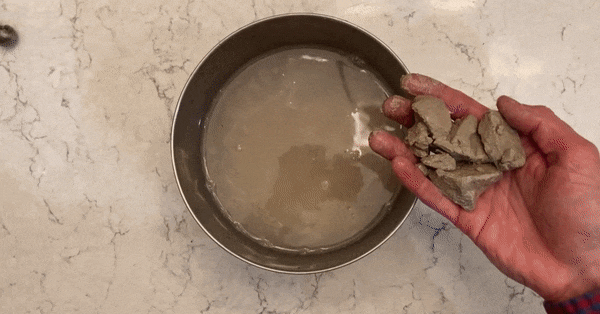
3. Add your clay to water to soak
Next, put the clay scraps and pieces into a bowl or bucket. I suggest the container you use to be larger than the amount you’re mixing so that you can blend the mixture without making a mess.
Leave the clay in the water for 30 minutes to 60 minutes to soak.
The goal here is to soften the clay so that you can blend it. You’ll know the clay is ready if you pick up the clay piece and it falls apart easily.
Let it soak for longer if it’s not soft enough.
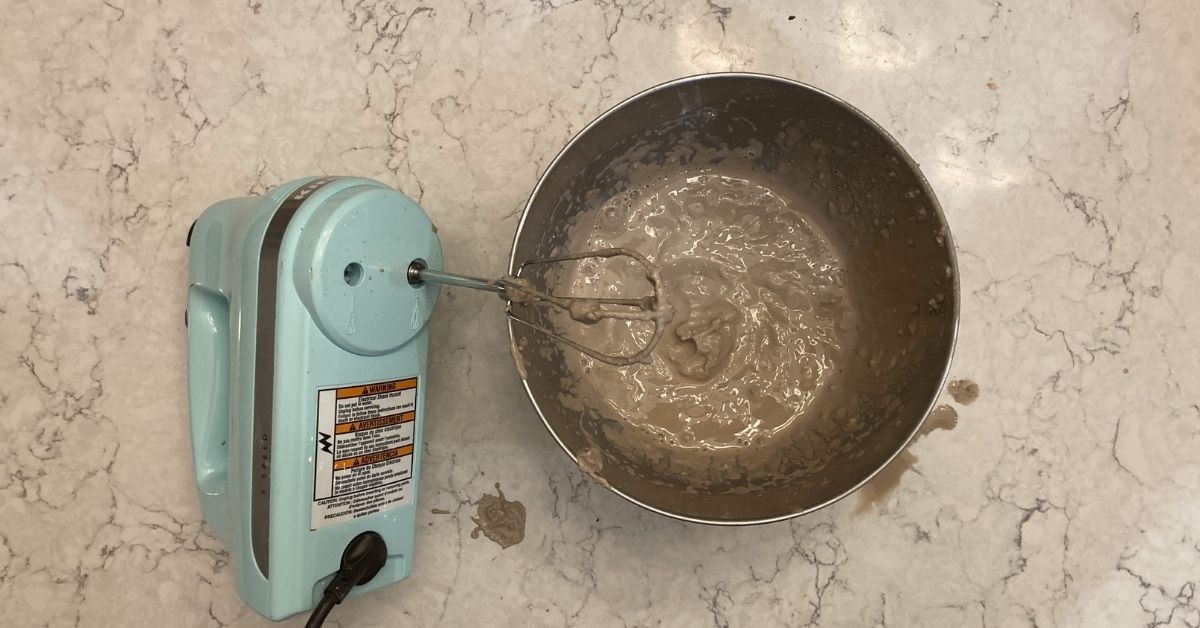
4. Blend the clay and the water
Next, I’d grab an old kitchen hand mixer to blend the water and clay together.
The consistency of the slip should be on the thicker side. You know you’ve reached the right consistency if the clay doesn’t settle as you mix it. You should be able to see the ripples from the mixer.
If the mixture is difficult to mix or has chunks of clay, add water.
Potters Tip: It’s best to start with less water and add it as you need it. You can always add water as you mix to get the right end product.
5. Straining your slip (optional)
The next step I take if I’m planning to use the slip for decoration is straining the slip to get it buttery smooth. Two reasons you want to do this:
- You’ll be squeezing the mixture out of a slip trailing bottle to apply it to your piece. The smoother the slip is, the more control you have as you apply it.
- The finish of buttery smooth slip is far more appealing than a rough slip. A least in my opinion 🙂
Straining slip is a really messy and tedious job. So I would skip this step if you’re planning to use the slip only for an adhesive during slip and score.
You can use something like a nut milk bag (Amazon) to strain the slip.
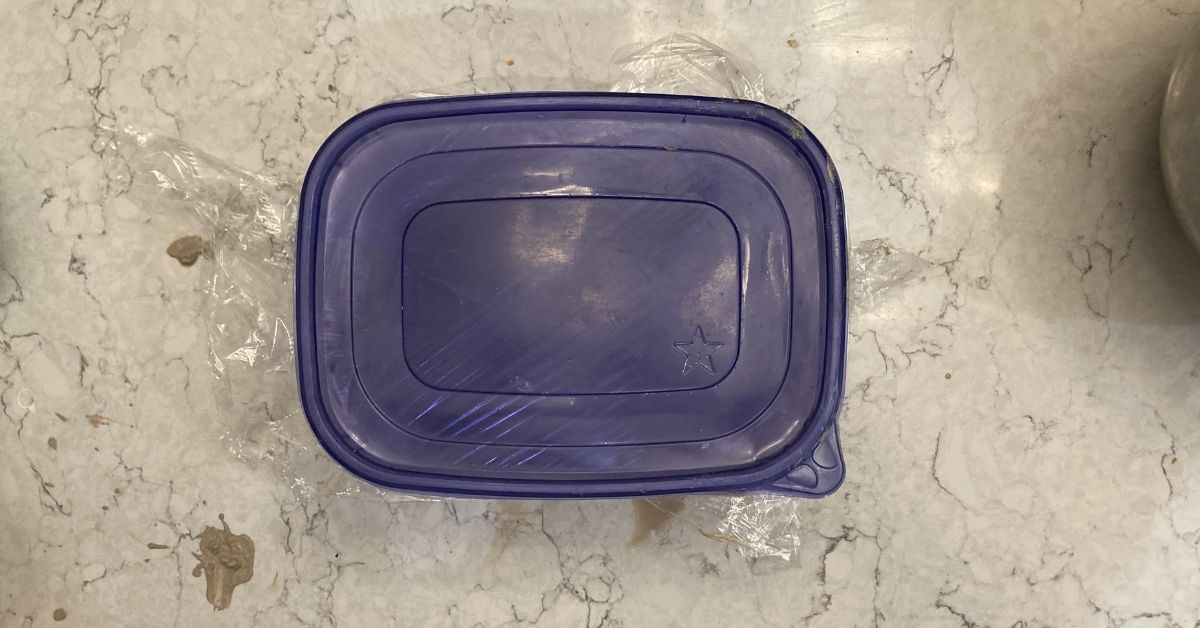
6. Storing potters slip
Last step: Storage.
You’ll need a container with an airtight lid. I will either use Tupperware if it’s not that much volume or get a bucket with a lid if it’s a lot of volume.
Even with the airtight seal from the container, I still saran wrap under the lid for even more air-tightness. You call it overkill. I call it peace of mind 🙂
Potters Tip: Spray your slip with a little bit of water each time you store it away to keep the right consistency.
Conclusion
After this article, I hope slip is not just that gross substance you see around the studio. Now you can make this critical ceramics and versatile part of a potters toolkit.
Potters Tip: It’s way better to have slip ready ahead of time. So if you don’t have slip on hand, I recommend you get to making it! It’ll save you some mid-project pain – trust me 🙂
If you followed our instructions and had questions, please let us know! You can get in touch.


Related Articles
Did you like what you read? Great! We have more articles on the blog. Check out a few of our most popular: