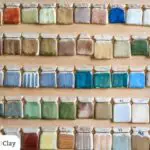
I LOVE sgraffito.
I’ve made pots with the sgraffito method (pictured above). I saw tons of building facades and ceramics with sgraffito marks when I visited Italy.
It’s a beautiful style and today I want to explore it with you.
What is sgraffito pottery?
Sgraffito is a ceramic decoration technique. A potter paints engobe, underglaze, or slip onto the surface of a leather hard vessel. Then carves away the decorative material creating patterns, a design, and contrast.
Sgraffito decoration originates from Italy in the 15th century. Sgraffito comes from the Italian word graffiare which translates as “to scratch”.
Fun fact: Graffiare is also related to another art form, graffiti.
Sgraffito was a technique that came about during the Italian Renaissance. At first, it was a way of decorating walls and facades. Though popularized and solidified in Italy, there are sgraffito decorations from this time in Africa and the Middle East.
History of sgraffito on facades
Sgraffito was first used to decorate walls and buildings. It became a common alternative to painting walls as a decoration technique. Two of the leading artists to use the technique were Polidoro da Caravaggio and Maturino da Firenze.
Italy was a hub of art and culture.
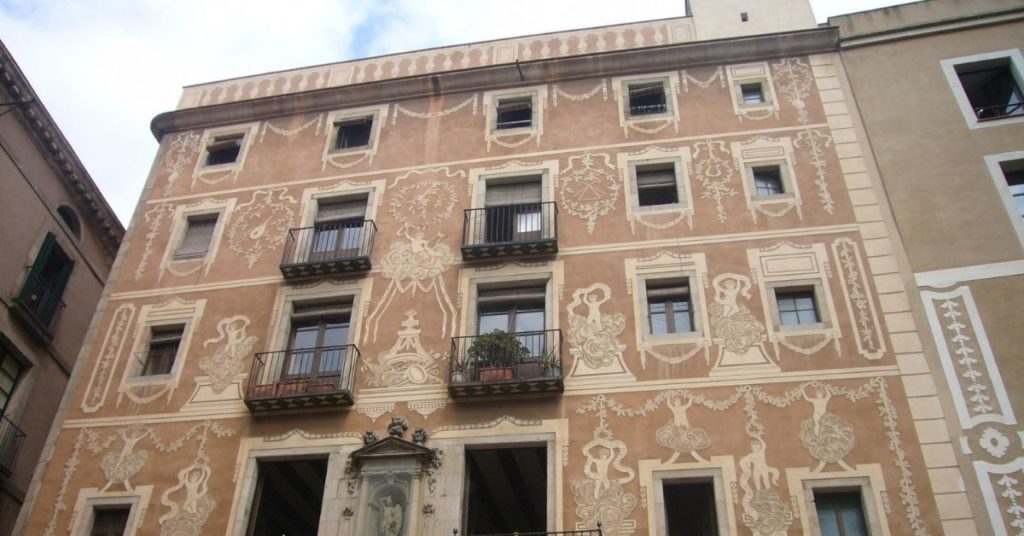
And so, like many things, the sgraffito method made its way north. The example pictured above is from Barcelona, Spain. Builders in what’s now Germany and Austria used sgraffito facades for advertising.
History of sgraffito on pottery
Trade across Europe helped popularize sgraffito pottery designs. A few notable styles outside of Italy were…
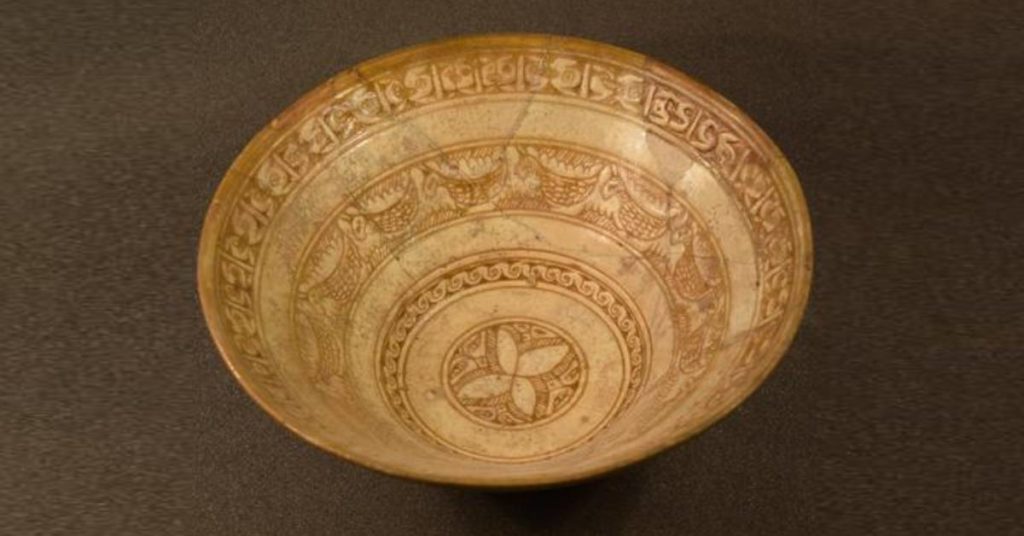
Gabri ware: Primarily red-hued earthenware vessel with floral patterned designs carved from white slip. Many discovered pieces from this style are from the Middle East.
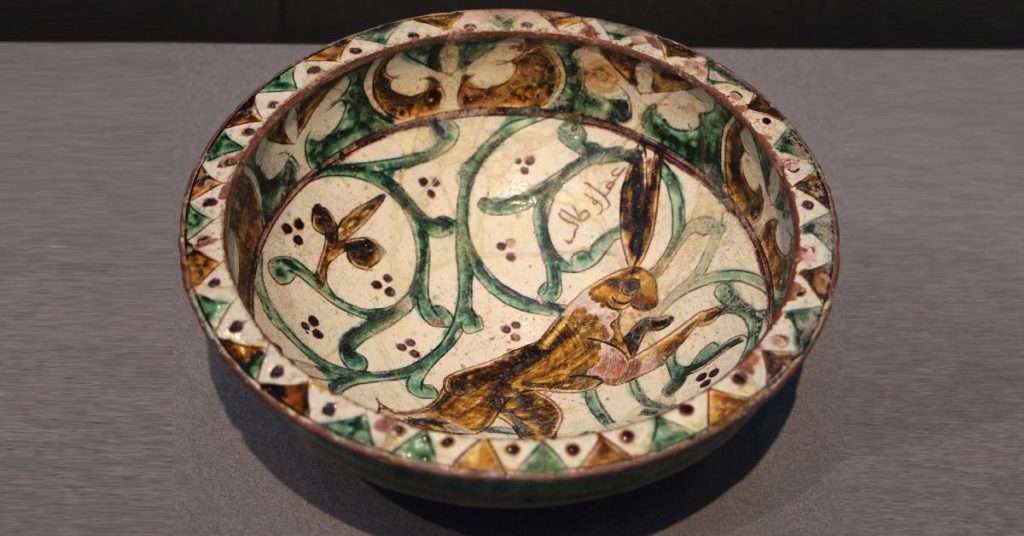
Aghkand ware: Primarily white or grey-hued earthenware vessels. Aghkand ware often displayed animals (particularly birds). The common coloring for decoration was green, yellow, and brown. Most artifacts with this style were found in modern-day Iran.
How to decorate sgraffito on pottery
Now, let’s take a look at the steps to making your very own sgraffito ceramic art.
Sgraffito tools and materials
- Wire stylus tool
- Mini ribbon sculpturing tool
- Rubber shaper
- Paint brush
- Engobe, underglaze, or slip
- Tracing paper
- Leather hard clay
Throwing a pot
We’ll blaze through this aspect since we want to focus on sgraffito in this article. But before you can carve designs, you need a pot! Throw and trim the pot to the shape and size vessel you want.
Put your pot to the side and let it dry.
Sgraffito pottery designs
Some folks are brave and go right for carving their designs on the pot. Kudos to them, but I can’t believe they do that! I would be nervous to mess up.
So my suggestion is to create a design on tracing paper. This way you can try a couple of designs and get it right without your “mistakes” being permanent.
Once your design is finalized, you’ll want to find a sharp pencil to transfer/trace the design on the leather hard clay. As you trace, you can remove the tracing paper and check out the work. If it’s what you want, it’s time to move forward.
Applying the decorative layer
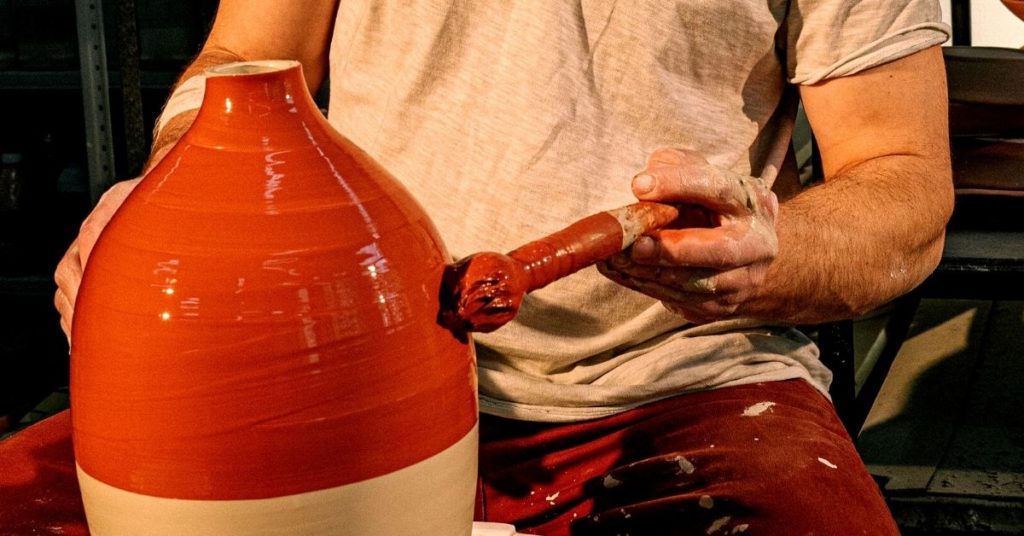
The pot should be leather hard before putting any decorative material on it. Mix your engobe, underglaze, or slip. The material you pick for decoration will be the resulting color of the pot.
Take a paint brush and apply your decorative material to the leather hard clay surface. Take care to evenly paint the vessel until the decorative substance is smooth.
You’ll notice that the pattern that you traced will begin to show through the decorative layer as it dries.
Time to wait! If you’ve been in pottery for a bit, you know there’s a decent amount of waiting 😅
Let your pot air dry. The time it takes to dry is variable based on your region’s climate and where you’re storing the pot. You want the pot to be in the leather hard stage of clay before moving on.
Carving
It’s time to carve!
Take a wire stylus or ribbon sculpturing tool to carve away the decorative layer from the pot. It’s important that your tools are sharp for this phase. Otherwise, your lines will likely get fuzzy.
But even with sharp tools, designs can get fuzzy. I like to use a rubber shaper to smooth out any errors or rough edges.
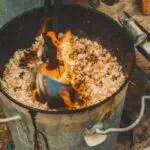
Bisque Firing
Before you can fire your pot, it needs to be bone dry. Bone dry is when the moisture is completely gone from your piece. Once it’s bone dry, put it in the kiln for bisque firing. Bisque firing will result in your pot permanently taking on the shape.
Bisque firing is done between cone 08 and cone 04. Check out this linked resource to know what cone you should use.

Glaze
Once bisque fired, I recommend glazing with a clear glaze. This finishes the piece and can play a structural role, too.
Glaze Firing
Let’s put it in the kiln – it’s time to fire for the last time!
The kiln temperature depends on the clay body. But we typically set our glaze firing temperatures between cone 3 and cone 5. Check out this resource on cone kiln temperatures to know what cone you should use.
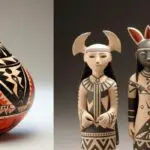
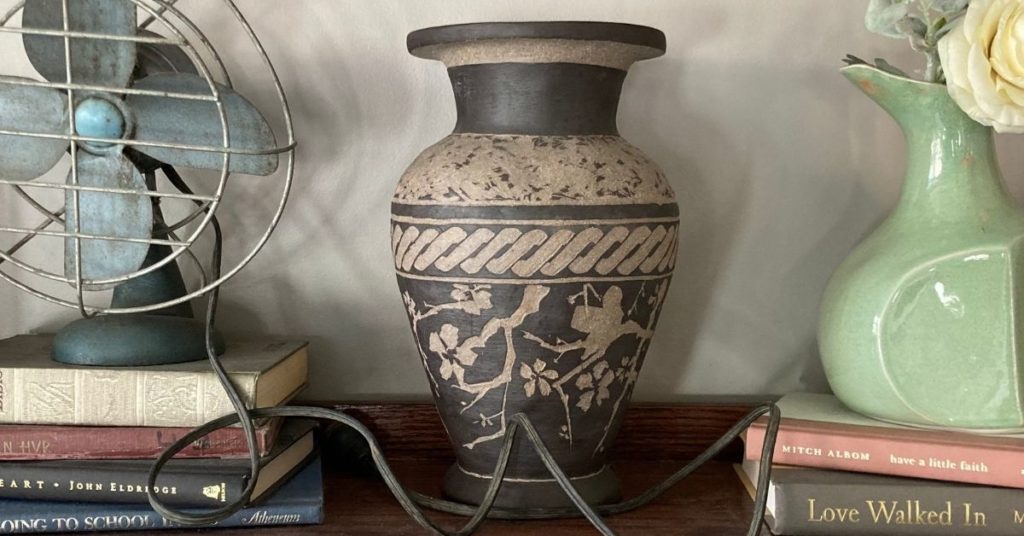
Below is a finished sgraffito project I’m really proud of. It’s a coiled built pot that I based on a greek amphora vase. For this one, I didn’t glaze so it has a more matte look to it like the ancient works I pictured above.
Conclusion
Sgraffito in ceramics is a wonderful tradition. If you haven’t tried it, I suggest you make it your next project!
If you have questions or want to get in touch, leave a comment or email us directly at hello@wheelandclay.com.