When I look at the centuries of ceramic works that are still holding together, I’m amazed.
And I’m further amazed when I think that ancient pottery cultures had far fewer tools and way worse technology we have today!
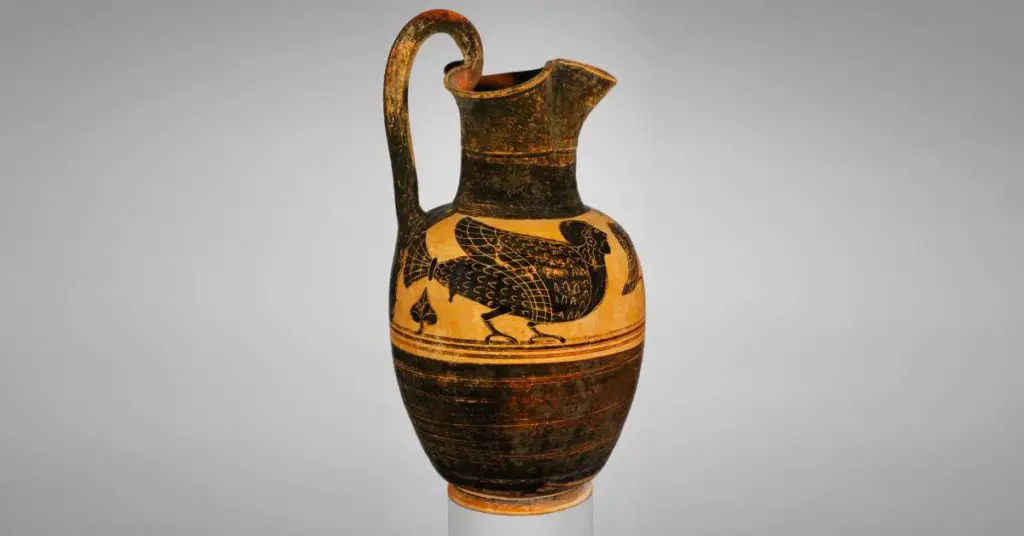
The Ancient Greeks are one of the most prolific and most-celebrated pottery cultures. Many of their works from long ago still survive including black-figure ceramics.
In this article, we’ll explore what black-figure pottery is and how it was made in ancient times.
What is black-figure pottery?
Black-figure pottery is a technique used in Ancient Greek ceramics. Slip and natural substances are added to the face of the pot. A potter then paints and draws designs on the surface of a vessel during the leather hard stage of clay. The parts that have slip blacken during kiln firing giving the technique its name.
What’s the difference between red and black-figure pottery?
The red-figure pottery painting style is the inverse of the black-figure pottery style. In black-figure pottery, the artist leaves an area untouched by slip. This is where a design is added. In red-figure pottery, the artist adds slip to the entire pot. Then, the potter carves away the design to reveal the red clay underneath.
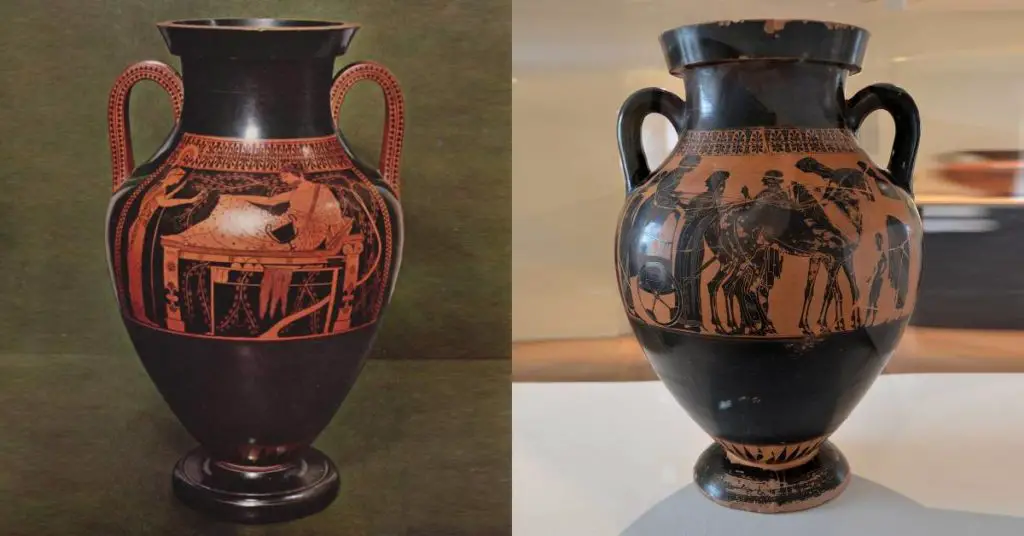
Only a few decades after black-figure vase painting was introduced, red-figure pottery became the dominant style. The red-figure style was popular both domestically and internationally. Archeologists have discovered red-figure pots in Italy and even further north into Europe.
Be sure to read our Greek Pottery article if you want to learn more about how these two styles fit in Greek history.
Now, let’s get into how the Ancient Greeks made pottery and used the black-figure painting technique. 👇
The ancient way of making a black-figure vessel
Mining clay
To make a vase, workers first mined naturally occurring clay. The mined clay would be mixed with water in outdoor pools to allow for impurities in the clay to sink to the bottom.
Once the water evaporated, it left behind a layer of purified clay. The purified clay was kneaded by workmen to make it plastic. Once plastic, clay was ready to be formed into a vase.
Working on the wheel
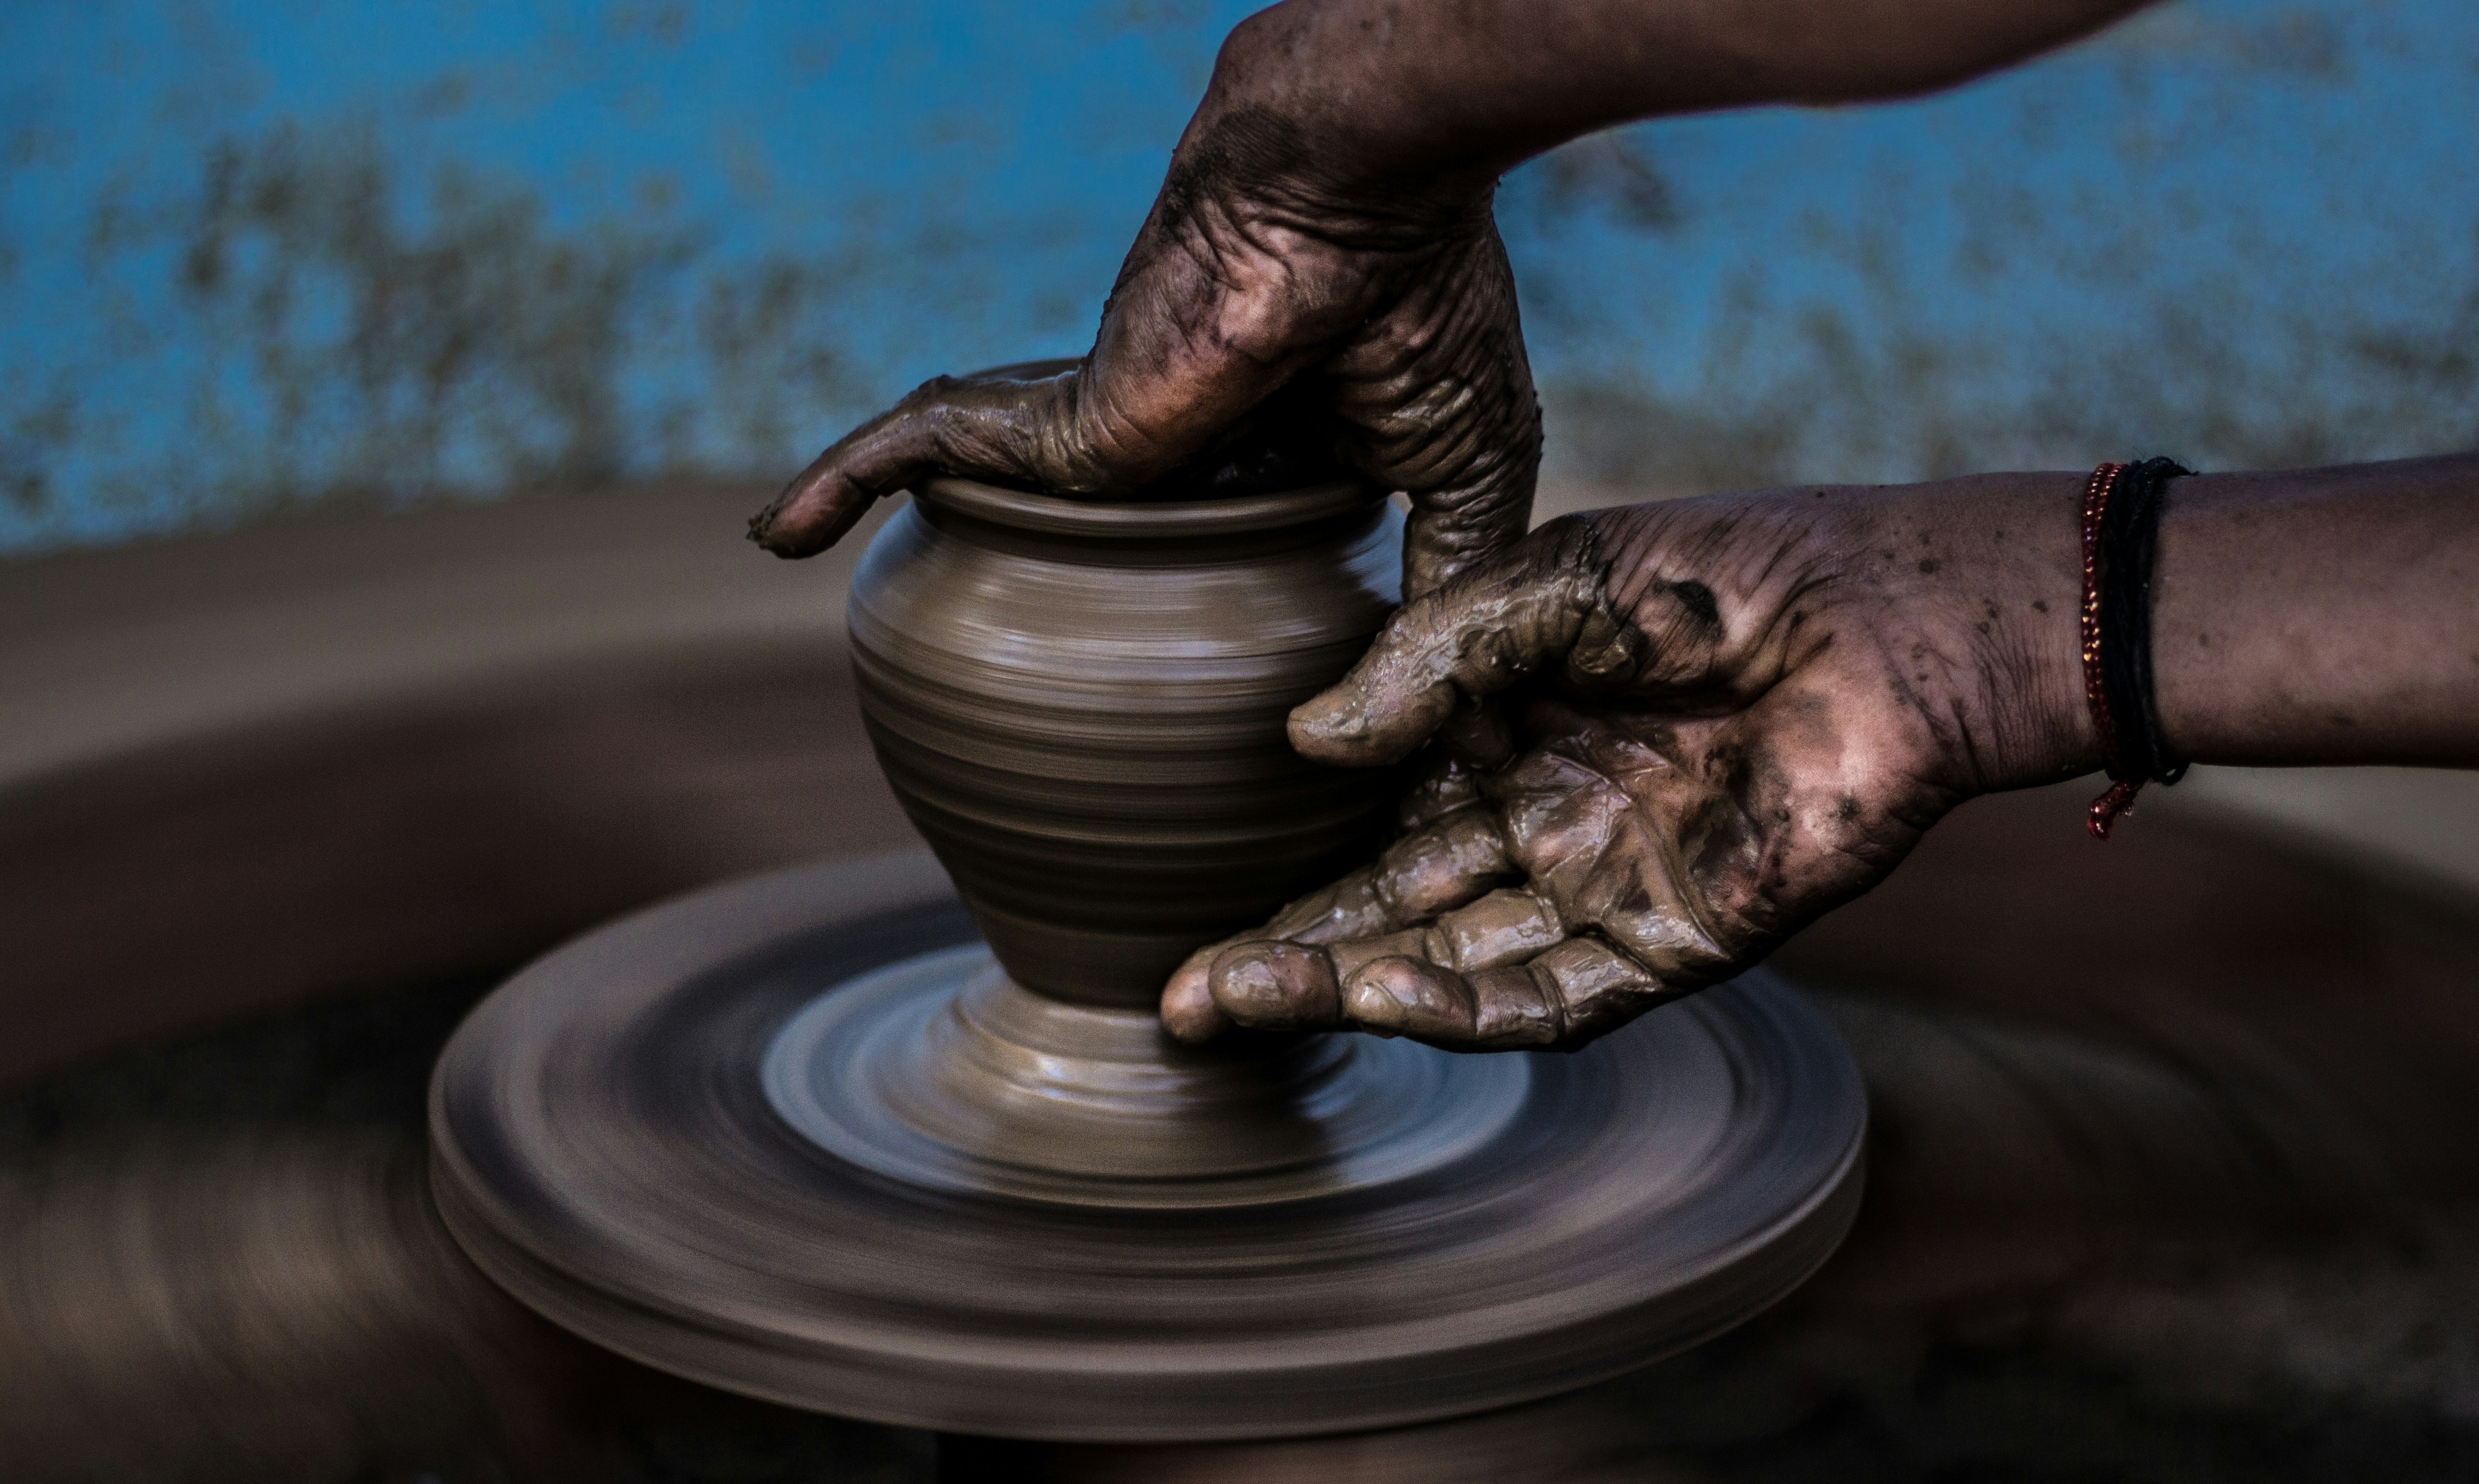
The Greek technique on the wheel is about the same as today’s techniques.
There’s something beautiful about that. We’re connected to the potters before us through the art form we practice.
In ancient times the wheel would be rotated manually by the potter or his assistant. A modern electric-powered wheel works the same way.
With his hands, the potter would form a depression in the middle of the clay. He then formed the clay into the desired shape by pulling outward and upward. We don’t know exactly what tools ancient craftsmen used. They likely had wooden and metal implements as well as sponges.
Next, it was time to wait. Over the course of about a day, the vessel would dry.
Final touches before decoration
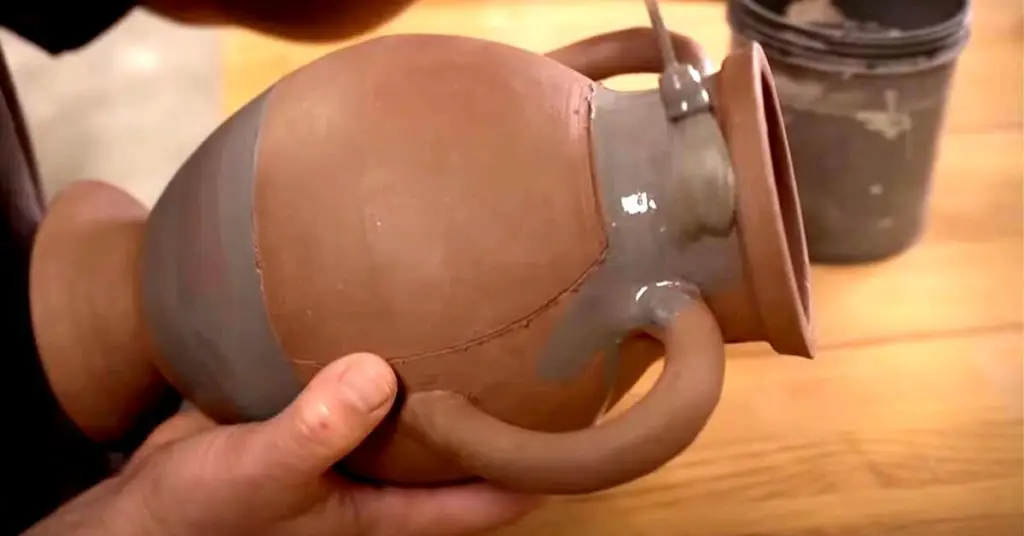
The next day, excess clay would be trimmed away and handles pulled from coiled clay. Once the vessel has been shaped, it’s ready for painting.
A fine liquid clay called slip is painted onto areas that the artisan wishes to be black. An unpainted area is left for decoration. The painted areas will turn black during firing and are not decorated. The unpainted section is where the pot’s decoration is added.
Decorating with the black-figure technique
The clay would sit overnight to dry to the leather hard stage. In the leather hard stage, the potter could make a sketch in charcoal which would disappear during firing.
Slip would then be used to add silhouetted forms using the charcoal as a guide. Often the silhouettes were human or animal forms.
The potter would then use trimming tools to reveal the light-colored clay below the slip. This is where the forms’ details would be included.
Red ochre was commonly used to bring extra depth to the piece. When fired, the red ochre turns purple and could be used to depict clothing, blood, or other details.
For white, the potter would use minimal iron oxide. Greek potters frequently used white to depict a woman’s skin. The craftsman may also want to highlight an animal or finalize a pattern detail with minimal iron oxide.
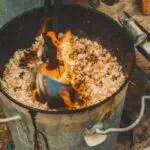
Firing the clay – ancient kilns
With the painting complete, the vessel was ready for the kiln. Firing clay in those days was a three-step process that would last between six to eight hours.
The firing process required incredible precision and experience. Think, back then they didn’t have thermometers or accurate clocks. That sounds like a nightmare!
1. Heating the kiln with oxygen
The first step was to get the temperature in the kiln to about 1,500 degrees Fahrenheit.
Greek potters had developed a system of chambers in the kiln to allow air in certain parts creating an oxygen-rich atmosphere.
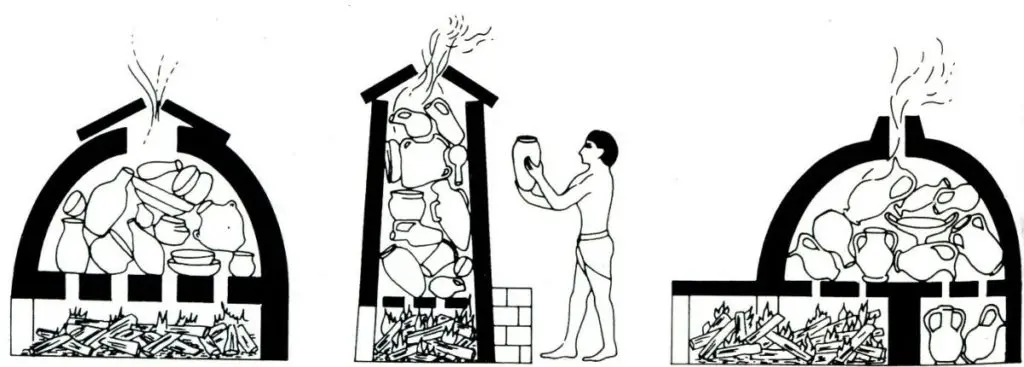
If you were to look at the pot while it was being fired, you would see it turn red. The process of heating up the kiln produces red ferric oxide bringing out the red hue in both clay and slip.
2. Increasing the kiln temperature and removing oxygen
Second, the temperature would be raised to about 1700 degrees Fahrenheit. To do so, air vents were closed and damp wood or wet leaves were placed in the stoking tunnel of the kiln. This created an oxygen-poor and carbon-rich environment.
The end result produced black ferrous oxide in the clay and slip, turning both from red to black. The slip would become a glassy shell that was resistant to any further changes.
3. Re-introducing oxygen into the kiln
The last step was to allow air into the upper chamber of the kiln creating an oxygen-rich environment.
Once more the surface of the vessel that didn’t have slip turned from black to red. The slip-covered areas such as the silhouetted figures remain black.
The kiln required around 12 hours to cool down after which the vases could be removed.
Conclusion
I’ll say it: The Ancient Greeks had a lot more patience than me. And boy are we glad they did!
I love the look and history of black-figure pottery from ancient times. The transfixing designs and beautiful colors capture my imagination. And it’s so incredible to think, these potters did it without the tools and technology of today.
If have any questions or just want to say hi, leave a comment or email hello@wheelandclay.com. We’d love to chat 🙂


