What is slab building in pottery?
Slab building pottery is a type of handbuilding where walled pieces are formed together through slip and score.
Handbuilding is a technique of ceramics where one forms clay with hands and simple tools instead of the wheel.
Slab pots are typically more angular pieces than other traditional ceramic projects. The technique calls for you to create “walls” of a container. Then, slip and score the clay where the walls will come together. Finally, you form together the walls creating the piece.
A brief slab building history
The earliest slab-built pots are believed to be 18,000 years old.
Based on what has been found, it appears the technique of slab building ceramics took a back seat in ancient ceramics. Most pieces from ancient times are either coil or pinch pots.
Ancient slab artifacts are largely concentrated in Eastern Russia and Mesoamerica regions.
Some cool artists to check out
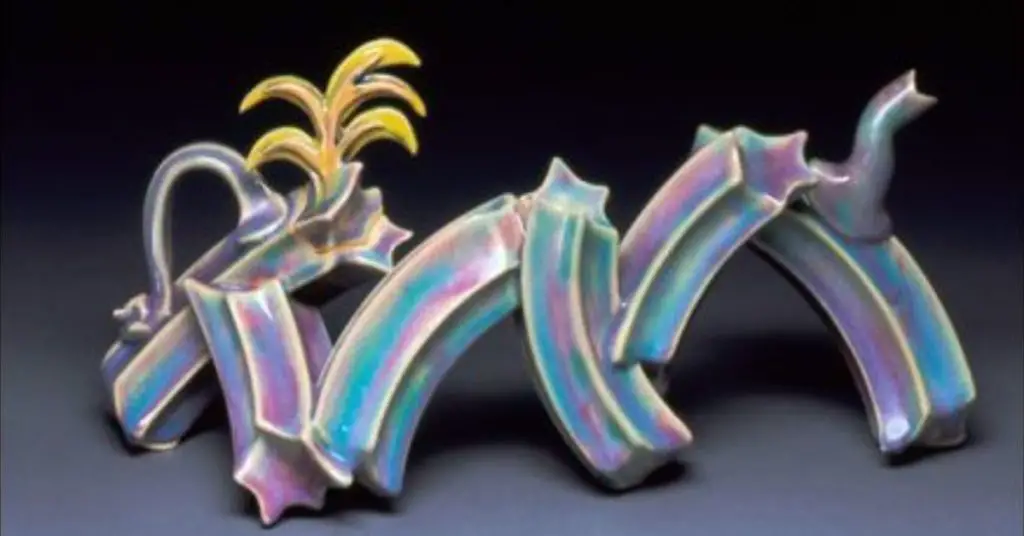
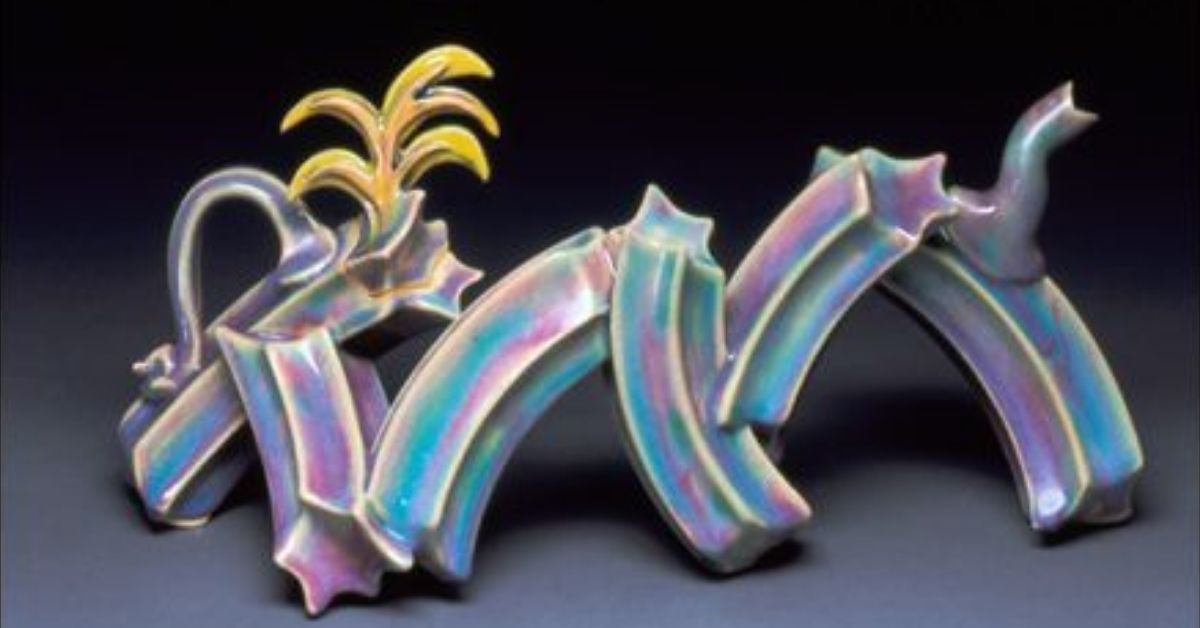
A couple of artists that we like that do a lot of slab building are John Mason and Ray Bub. You can click on those links to see some of their works.
John Mason
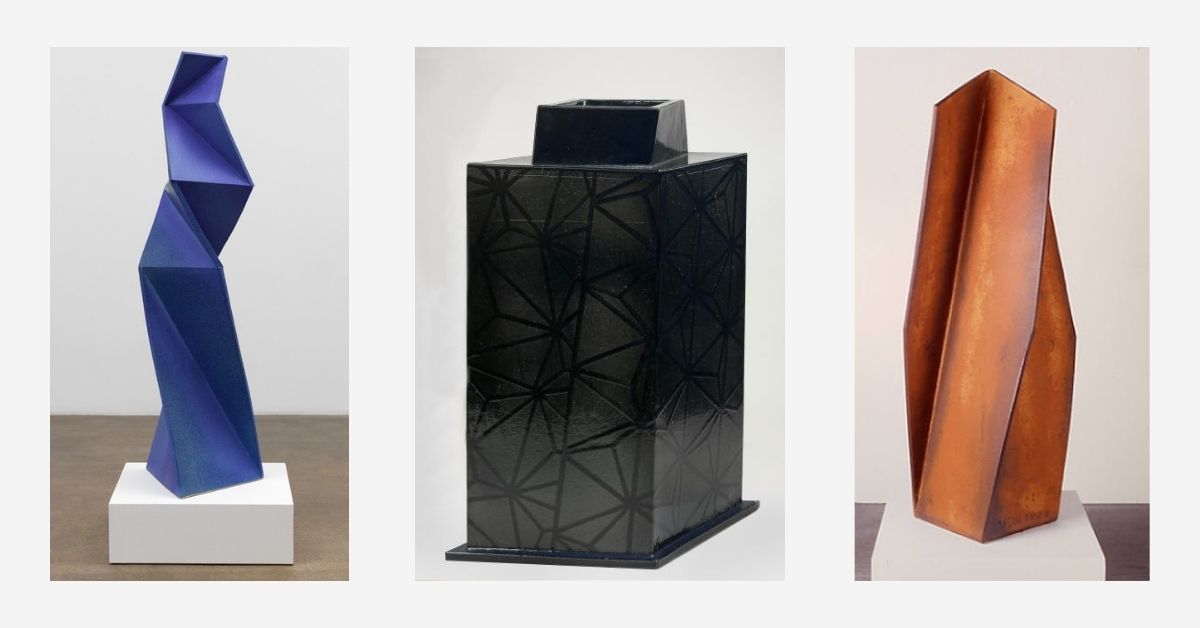
Ray Bub
Making your own slab built project
In this section, we’ll cover:
- Sketching your design
- Wedging: Preparing the clay
- Slab Rolling
- Cutting slabs, stages of clay, and assemblage
- Refining
- Kiln firing your project
Tools you’ll need
- clay
- large canvas board
- slab roller
- spray bottle
- scoring tool
Sketching your design
Why sketch it?
Well, it gives you a specific goal. It’s also much easier to erase pencil markings or get a new piece of paper than it is altering a clay project. You don’t want to have to start over after a few hours of work – talk about frustrating!
Wedging: Preparing the clay
Prepare the clay for your project with wedging. Clay can dry out between sessions. And tiny air pockets can appear when mixing clay.
Here’s a best practice method for wedging the clay.
- Start the clay in a ball
- With the heel of your hand, push down in the center away from your body
- Grab clay from the side furthest away from your body.
- Then “roll” it toward you by picking it up from the edge furthest from you and flipping the clay
- Repeat for several rounds
As you knead the clay you’re softening it, eliminating air bubbles, and distributing the moisture evenly.
I will often use a large canvas board to keep surfaces clean and to prevent the clay from picking up any materials.
Slab Rolling
Your next step is to start creating the slabs.
First, make the clay into a cube or cylinder.
You’ll want to work slowly with the clay to start. Too quickly could break the bondages between clay particles (and you won’t know that until the piece is done firing!).
Stand over your clay. Start with your palm on top of the cube or cylinder that they formed. Then, lean on top of the clay slowly to compress or flatten.
Flip the clay to the other side and repeat the process (palm on top. slowly compress). You’ll want to do this approximately 4 times as you work around the body compressing the clay.
The clay will start taking the form of a slab. I recommend working the body of the clay until it is about an inch thick.
Next, you’ll want to even the thickness with a tool. There are two options:
A table slab roller: If you have a table slab roller, put it through slab roller to even the thickness
A Handheld slab roller: If you don’t a table slab roller, you can use a handheld slab roller (or even a rolling pin if you’re in a pinch).
Last thing: Store and close the slab in plastic to prevent air from getting to the clay.
Cutting slabs, stages of clay, and assemblage
Now it’s time to put it all together.
First, cut the shape of the slab into the form that fits the project. Once you have your slabs cut to the right size, prop and share the slab into what will be its final resting place.
Repeat this until the ceramic piece starts to take its final form.
Once the pieces are propped in their right place, leave the clay alone for the remainder of the class. The slab should be exposed to air until it becomes leather-hard. You’ll know your clay is leather hard when it is still (won’t bend) and that it will hold the shape of the final piece without the props.
Drape plastic over the piece. Make sure the plastic mostly covers the piece but leaves space for airflow to the clay. Let it sit overnight.
The next day, remove the plastic from the projects and inspect the clay. You’ll want to spray water with a spray bottle on places where the color of the clay is changing. It should be a very light mist – just enough to make the color match the rest of the piece.
Refining
OK – you have a piece that has taken form and holding itself up. We’re getting close to putting our works in the kiln (so exciting!).
At this stage, you’ll want to correct parts of the project that didn’t go well. You can shore up the assemblage or add a design to the exterior.
Kiln firing your project
It depends a lot on your project and clay. A kiln can take approximately 8 hours to reach 2000 degrees Fahrenheit, and then 12 more hours to cool down. Here’s a little more about kiln firing.
2 slab building pottery ideas for beginners
You’ve seen the step-by-step. Now, let’s take a look at two slab projects you can try.
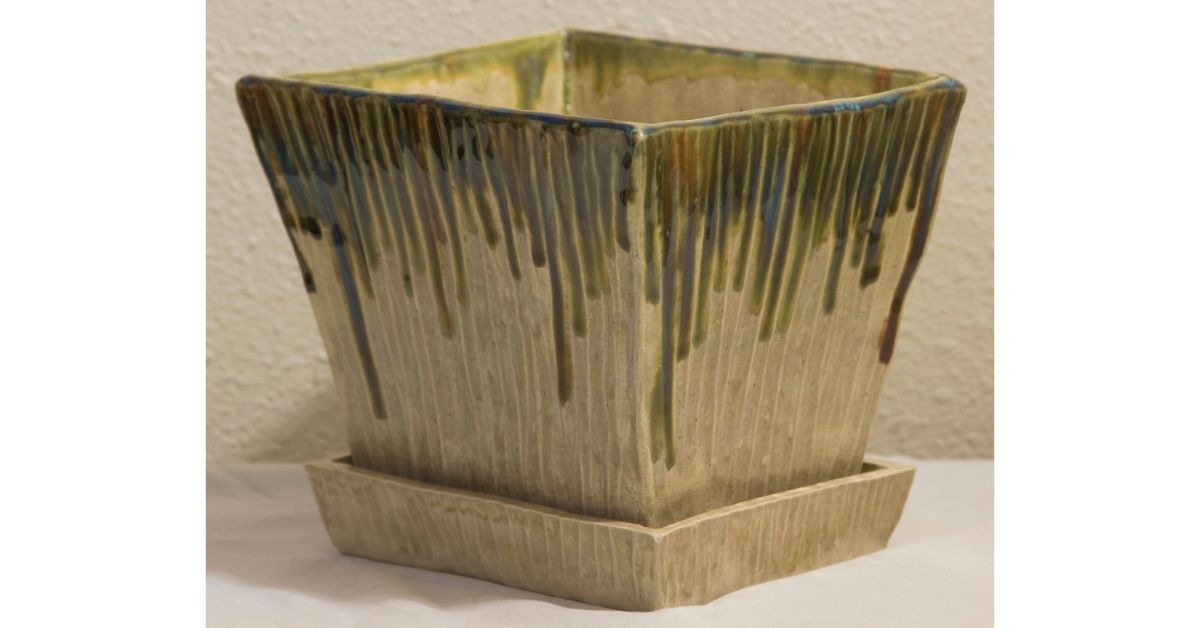
Project idea #1: Slab built planter
Ceramics is a great way to spruce up your garden. And slab-built structures pair well with planters.
Try creating a slab-built planter like this beautiful example from Slip and Weld on Etsy.
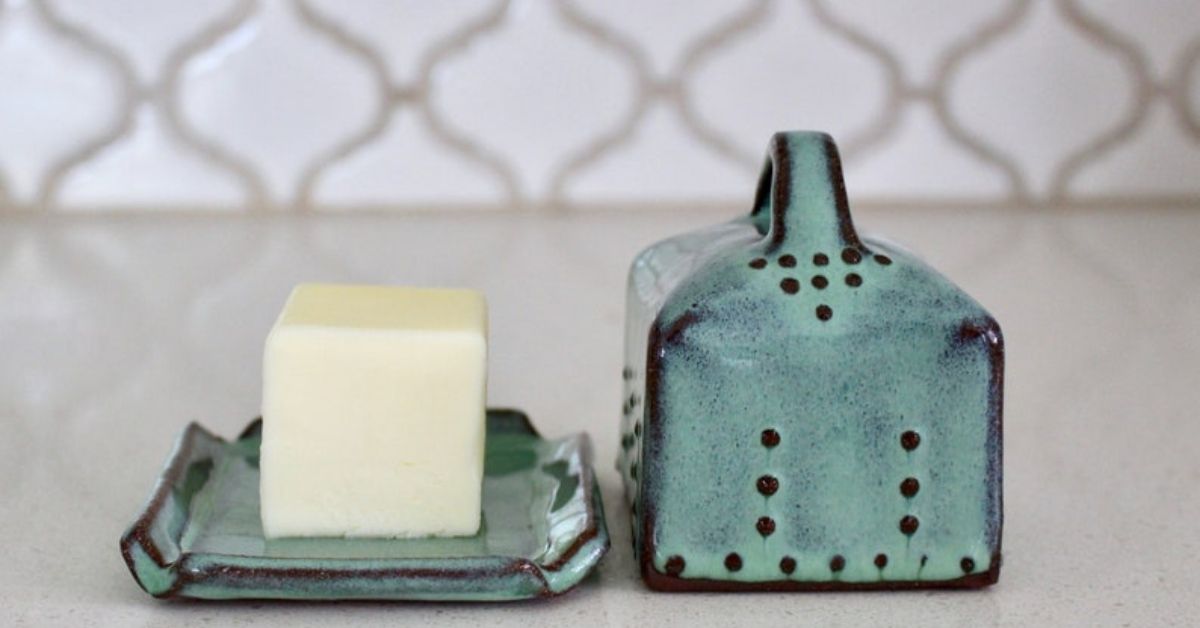
Project idea #2: Slab built butter dish
The size of a butter dish makes the project accessible to beginner skill sets. Here’s a good example of a slab-built butter dish from Back Bay Pottery on Esty.
Looking for more ideas? Check out our article “21 pottery ideas for beginners.”
Conclusion
And that’s slab building! It’s a fun, unique style that doesn’t require a wheel or heavy-duty equipment.
If you try out the technique, we’d love to see your projects. Take a picture and email it to hello@wheelandclay.com. We’ll hang it on our virtual fridge 🙂
Related articles
Handbuilding Pottery: A Complete Guide